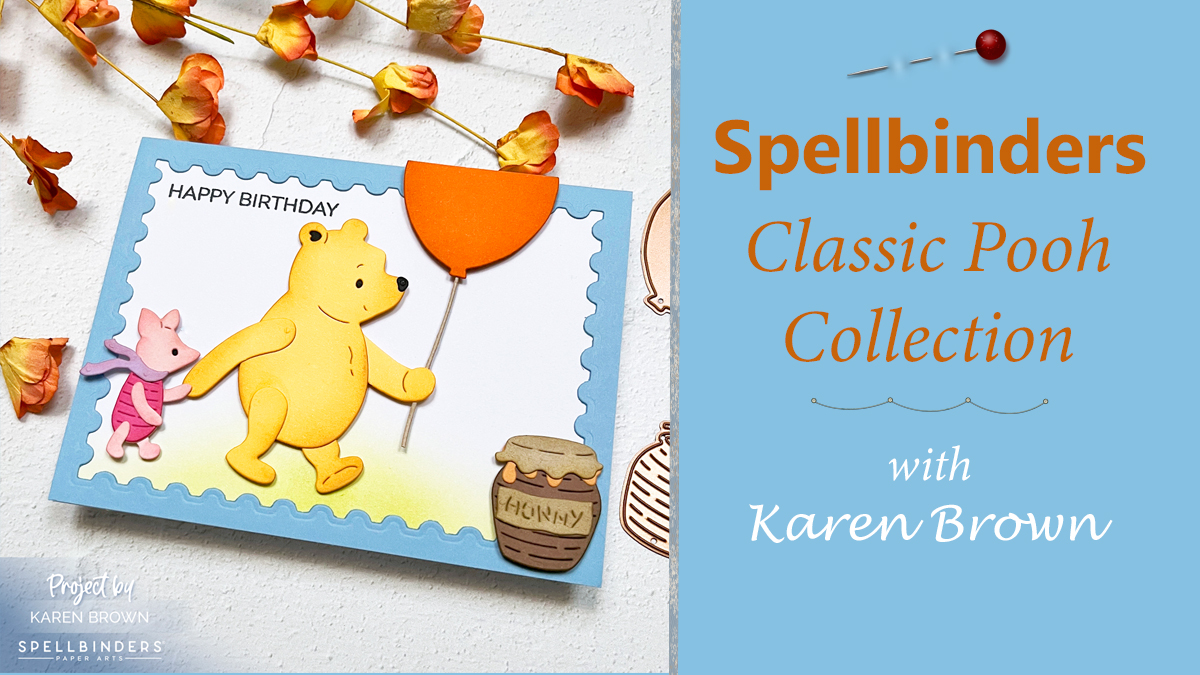
Sometimes, a handmade card can transport us to a place of pure nostalgia and joy. That’s exactly what this Winnie the Pooh-inspired birthday card does! With die cuts, soft ink blending, and a cheerful color palette, this whimsical creation captures a moment straight out of the Hundred Acre Wood.
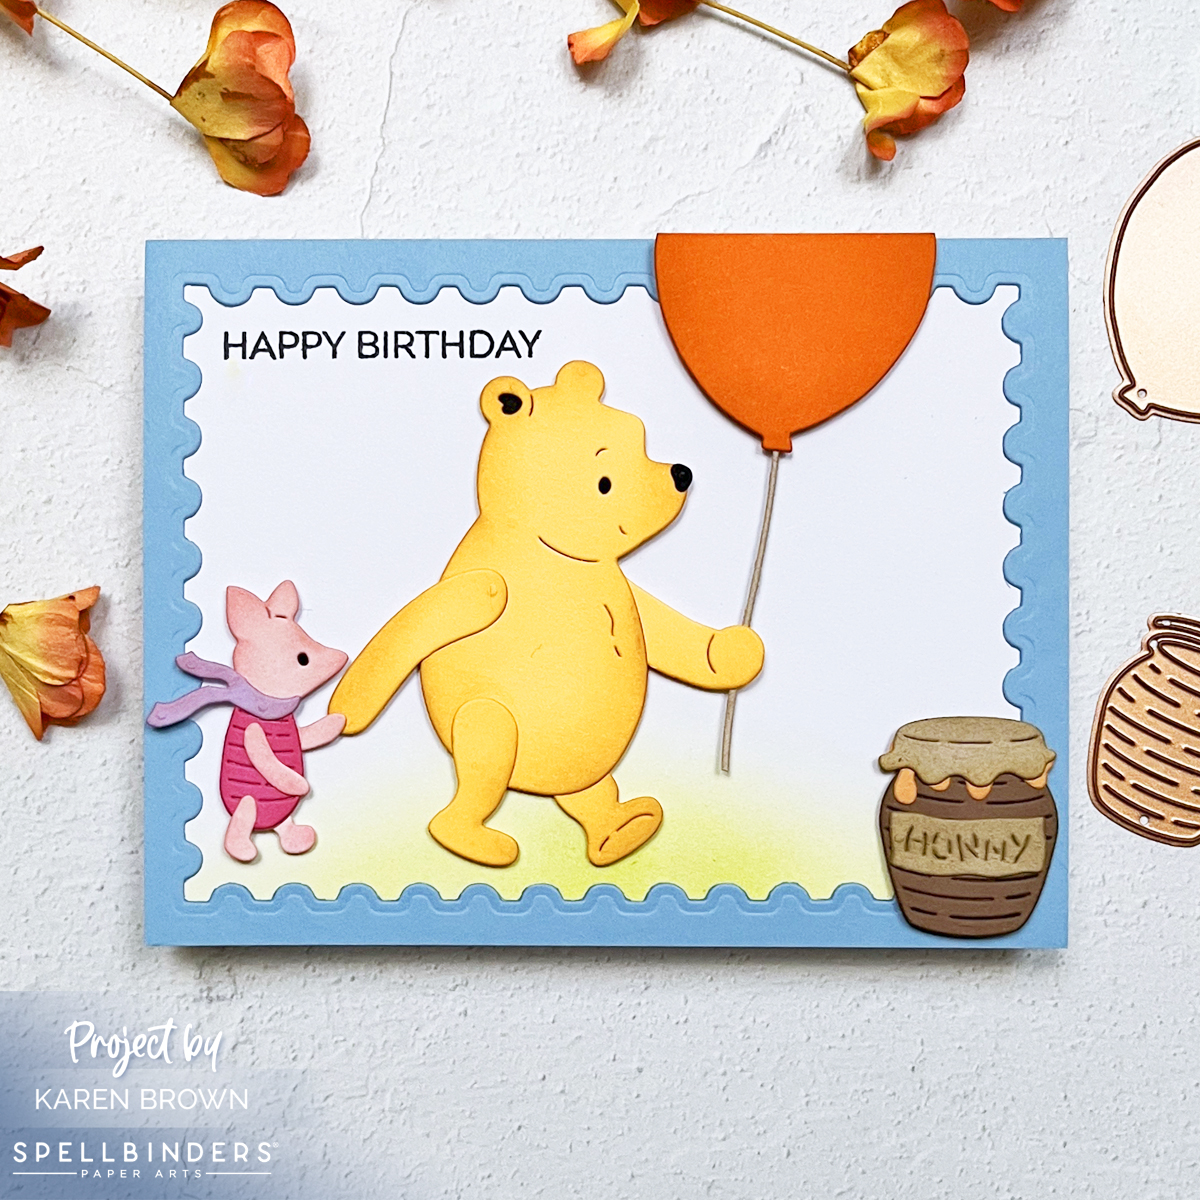
This card brings to life a heartwarming scene of Winnie the Pooh and Piglet holding hands, walking side by side. The duo is accompanied by a playful orange balloon on a string, gently floating above. A honey pot rests on the ground, completing the sweet and simple vignette. The background features softly ink-blended green grass, framed by a charming postage stamp-style border in periwinkle blue, adding just the right touch of whimsy.
Techniques for Dimension and Charm
The die cuts are the stars of this card, and a touch of light ink blending adds depth and dimension to each element. Winnie the Pooh’s honey-colored body gets a subtle gradient to make him pop, while Piglet’s pink details are gently shaded for softness. The balloon shines bright in orange, with its string creating a delightful sense of movement.
The grass is ink blended in gentle greens, giving the scene a soft, storybook feel. Meanwhile, the periwinkle frame ties everything together with its postage stamp shape, reminiscent of a cherished letter from the Hundred Acre Wood.
Why This Card is a Classic
This Pooh-themed birthday card is more than just a greeting; it’s a tiny piece of nostalgia wrapped in creativity. Perfect for anyone who loves the timeless tales of Winnie the Pooh, this card is sure to bring a smile to their face and a touch of magic to their special day.
Today’s card is for a friend’s birthday, but I think it would also be great as a Get Well Card.
Adorable animals…..yes please! Stamping a cute puppy, reindeer or fox onto a “Holiday”, “Get Well Soon” or “Happy Birthday” card is a wonderful way to share encouragement and celebrate someone special. And it’s not just for the holidays, Hero Arts November Card Kit is going to be a year round favorite in my craft room as my family loves cute critter cards.
And, there are LOTS of changes going on at Hero Arts. I’ve included some Hero Studio changes later in this post, so keep scrolling!
Hero Studio November 2024 Card Kit of the Month
I obviously LOVE this kit! Today I am sharing three cards made with the November Kit and I can’t decide which is my favorite. The kit includes loads of greatness and I used 3 of the 8 charming animal stamps and dies, the two stencils and Merry Christmas sentiment.
Curious about this month’s kit? Let’s take a peek inside the November Card Kit:
KIT INCLUDES: • Peeking Animals Clear Stamp Set, 6” x 8” • 17 Coordinating Dies • 6 Fancy Dies • 2 Sheets Each of Pine & Cherry Cardstock, 5.5″ x 8.5″ • 2 Stencils in Argyle & Cable Knit Patterns, 4.75″ x 6″ • 28 White Die Cut Tags, 4 different styles • White Hero Pearls, 0.6 oz. • Berry Hero Wax, 1 oz.
Kit Cost:
$46 with Subscription + FREE SHIPPING!
$49.99 One Time Purchase (while supplies last)
5 Wonderful Kit Options:
For this blog post, I created with the November kit and two Extraordinary Extras, but there there are 5 kits plus 6 Extras available. You can also buy the Whole Studio, which includes all 5 kits at a wonderful savings.
I wanted to show you two more kit cards that I created. I used to have a sweet blond lab named Shelby, so I created this card with Shelby in mind. Isn’t she darling? My Shelby was with us for 12 1/2 wonderful years.
Sometimes I just like to color, and this Winter Foliage Pattern Stamp Setis perfect coloring fun! The stamps are already perfectly positioned on one large 4×6″ clear stamp, which makes stamping a breeze! I didn’t use it today, but there is also a coordinating Winter Foliage Pattern Cover Die.
Creation Details:
I stamped and Copic colored my foliage elements. Copic colors used: N1, R22, R24, R27, R39, YG03, YG25, YG17, BG11, BG23, Black.
Pro Tip: I added ink splatters by flicking the brush end of my Black Copic Marker along the inside of the cap towards the colored panel. This gives nice small ink splatters. Another easy way to add ink splatters is by putting some Licorice Reactive Ink on an Acrylic Block and then flicking the ink onto the panel with a fine brush or fan brush. Great results either way.
The sentiment is from the Holiday Messages Stamp and Die Bundle and I added a Vellum shadow.
Big Changes at Hero Arts:
Faster Orders: New subscribers will no longer have to wait until the following month to receive their first kit. Now receive the the same monthly design when you subscribe! The sign-up window will be open the 1st – 27th each month. Also, starting in December the Monthly Add-Ons will be available for purchase on the 1st of each month as well.
• Charge Edit Window: Subscription charge day is moving to the 3rd of each month. Beginning in December, we will revealing kits on the 1st, which means you can make subscription changes prior to the charge date following the reveal.
• Subscribers Come First: Non-subscribers will no longer be able to purchase the a la carte products that are live within the Hero Studio month. Those designs will ONLY be available to active subscribers the first month. If there are any leftovers, they will be available for a la carte purchase to non-subscribers the following month.
• Fulfillment Changes: We are also making some fulfillment changes to help us get the orders out quicker and more efficiently. One of the main changes will be the Hero Studio Add-Ons will ship separately from the recurring Hero Studio orders. Subscribers will still receive free shipping on the add-ons for the first week.
Want to learn more about all the changes coming to Hero Studio? Check out the FAQ section of the website.
BLOG HOP:
Hero Arts will give away a $50 gift card, drawn from the comments left across the hop. Enter by Sunday, November 10 at 11:59pm Pacific, and the winner will be announced on the Hero Arts blog the following week.
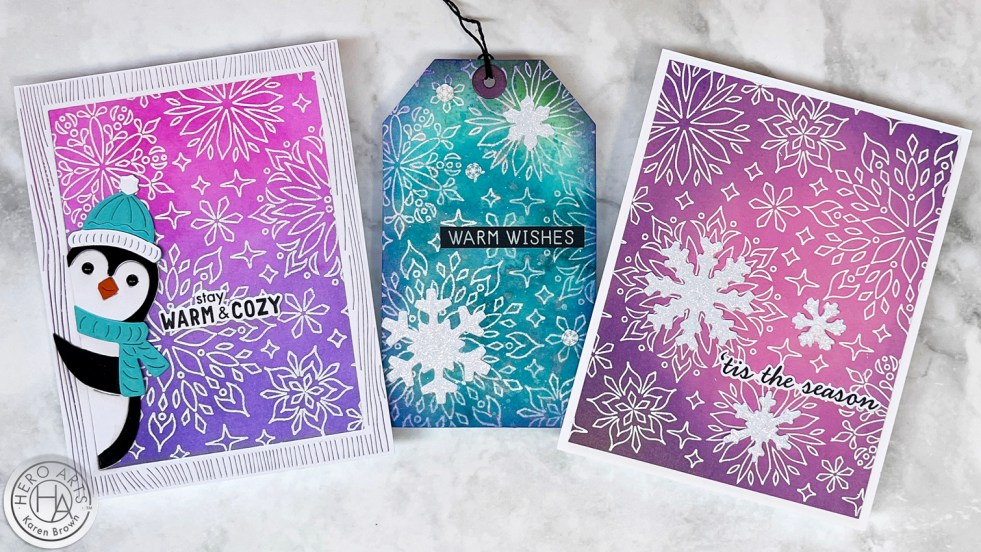
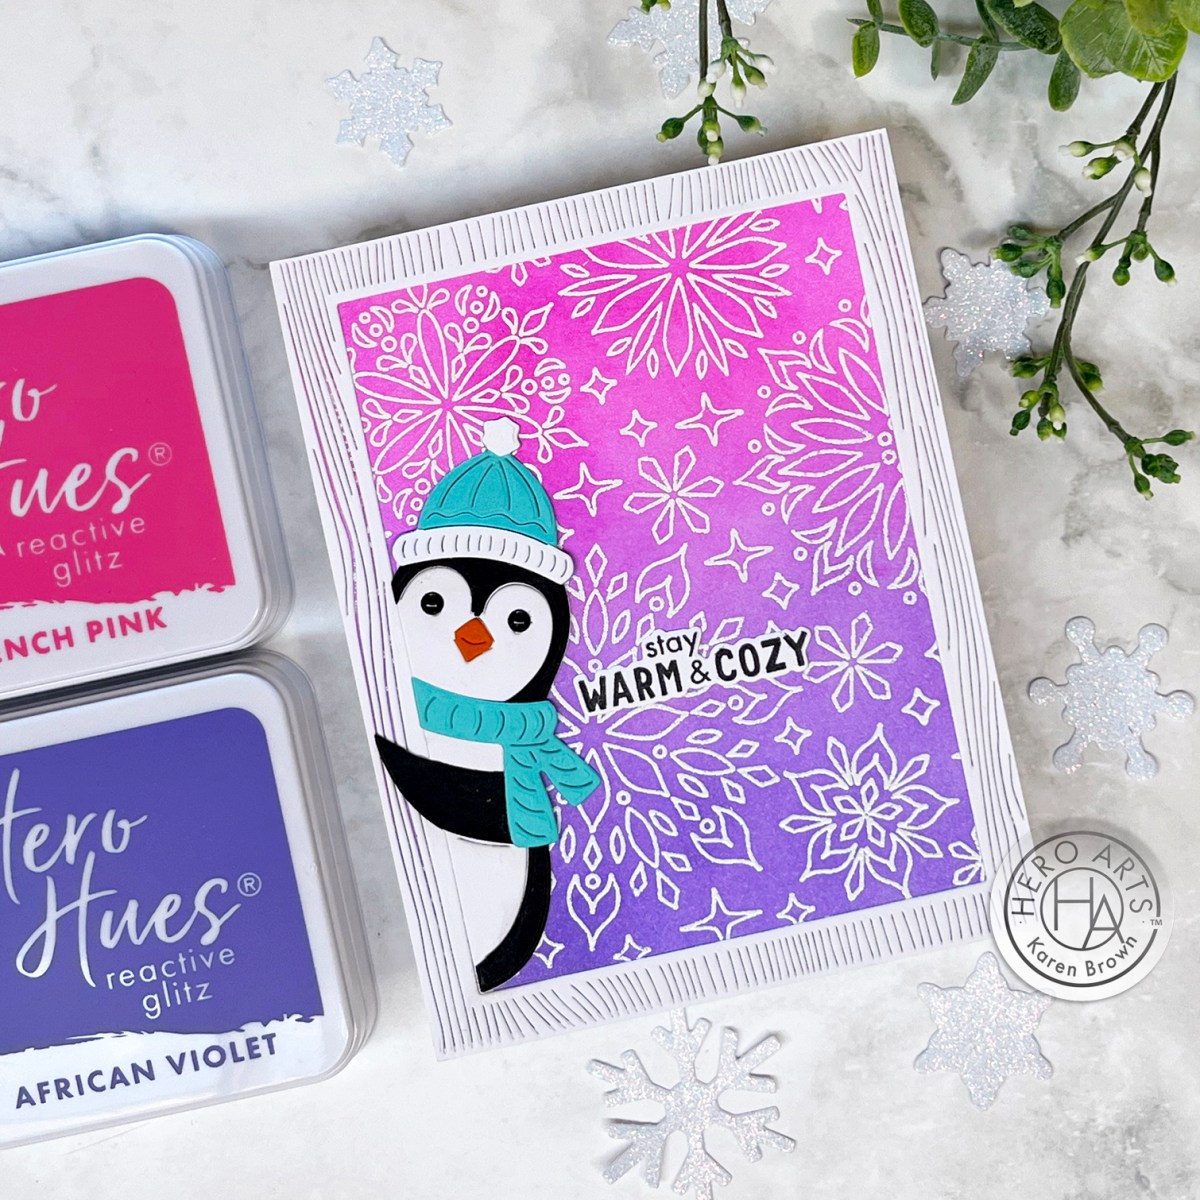
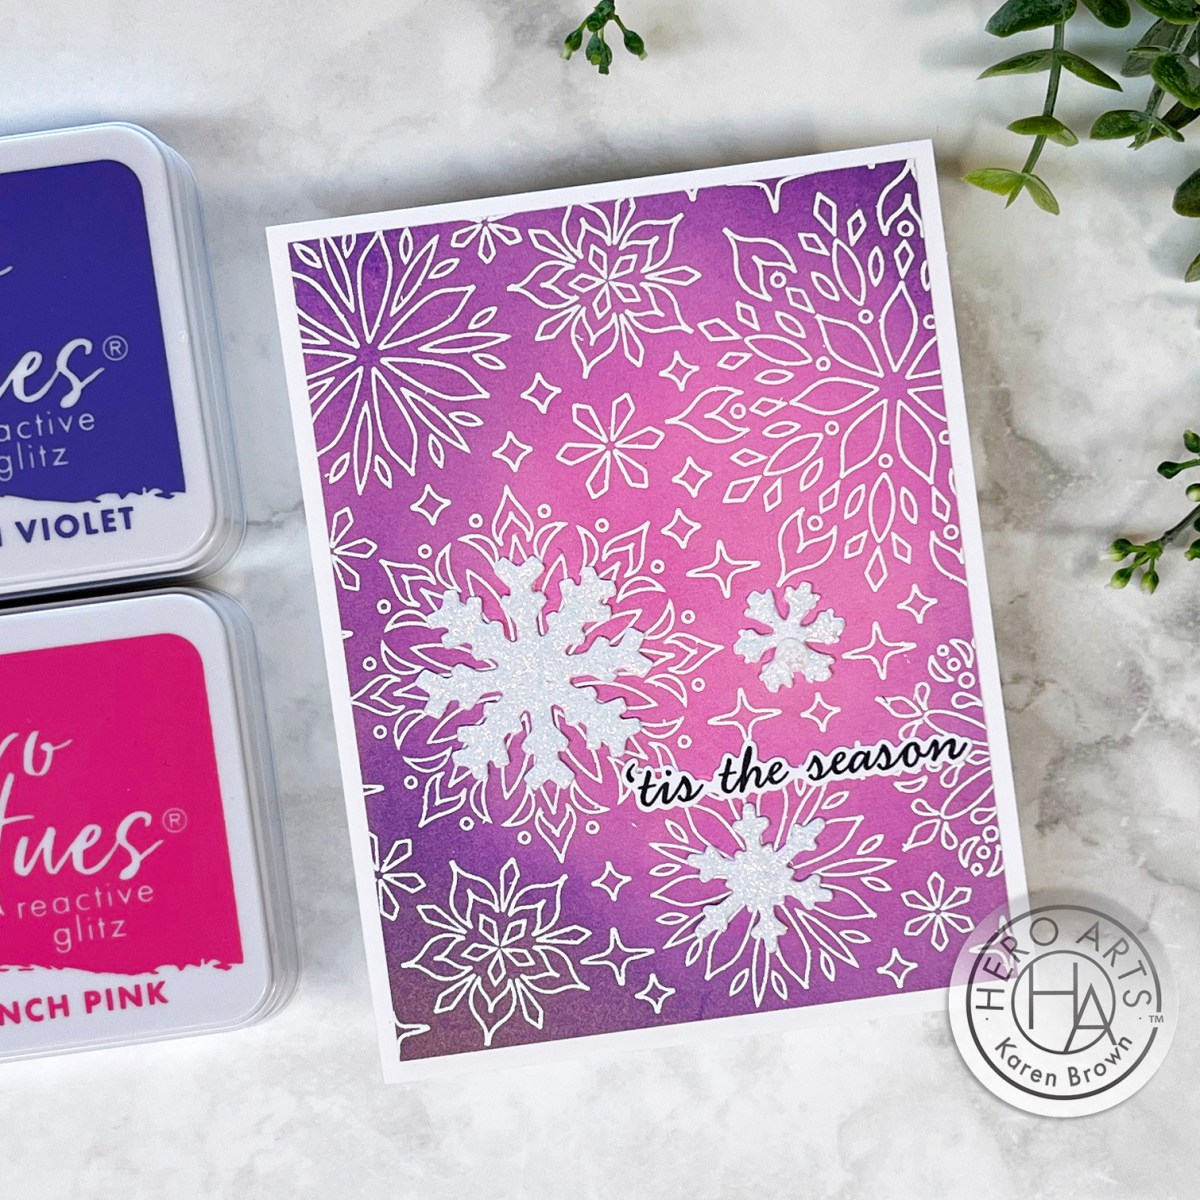
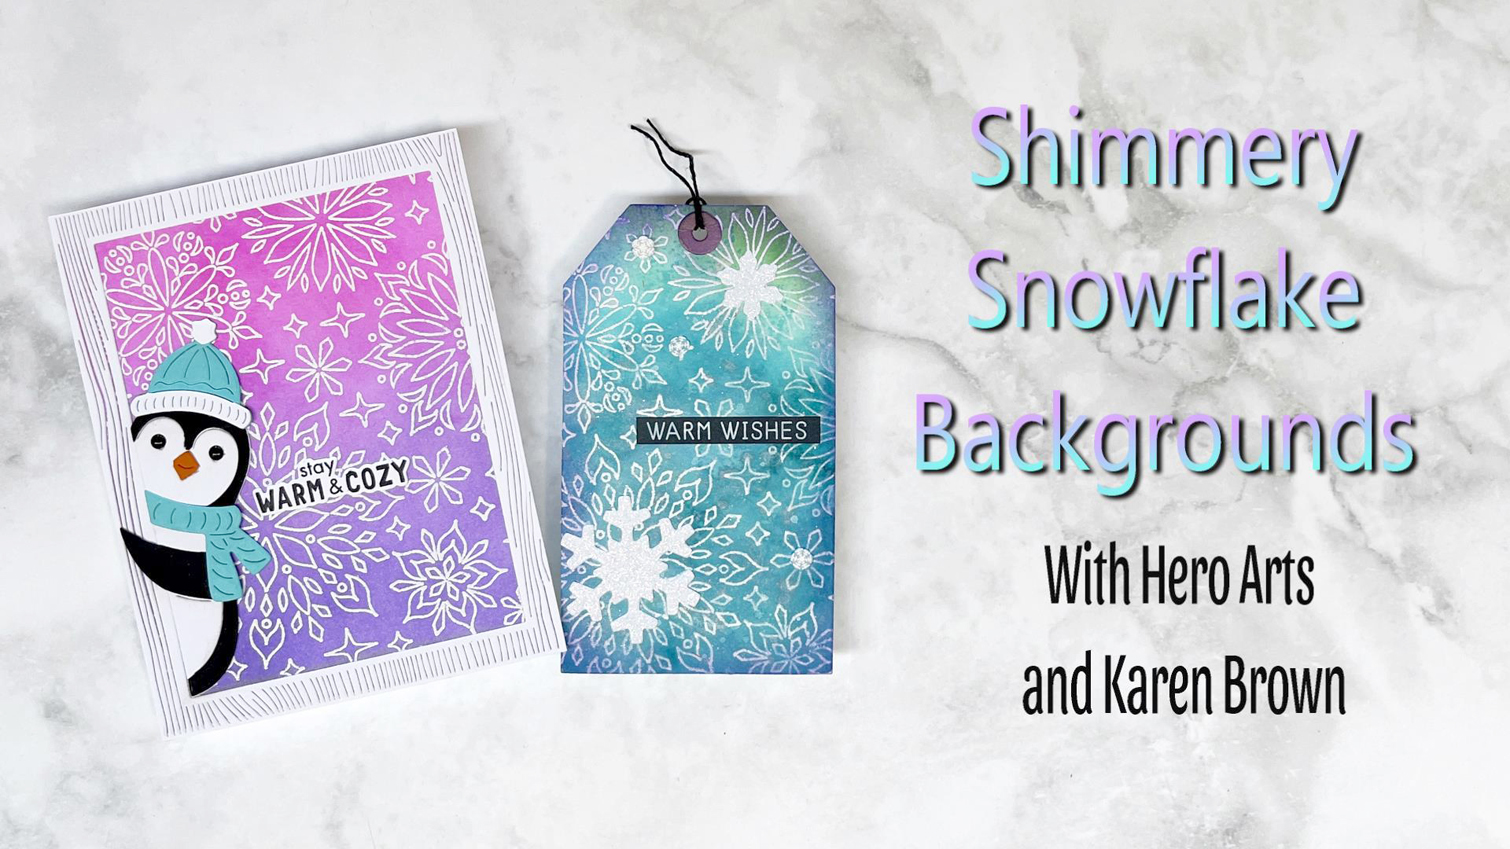
Are you ready to add a touch of winter magic to your card-making? In today’s video, I will guide you step-by-step through the enchanting process of creating shimmery snowflake backgrounds that will leave everyone in awe!
If you are having trouble viewing the video, click HERE to watch on YouTube.
Who is ready to start creating for the holidays? Hero Arts Holiday Catalog is just full of wonderfulness and I am so excited to share cards I created with these new products.
Autumn is a season of breathtaking beauty, with its vibrant foliage and crisp air. It’s the perfect time to channel that inspiration into crafting handmade cards. A die cut card featuring fall leaves is a wonderful way to capture the essence of the season and share it with your loved ones.
My Process for Creating This Autum Foliage Die Cut Card:
Without removing the Fall Pattern clear stamps from the plastic panel, place the stamps on the sticky mat of StampWheel stamp positioner. Tape Watercolor Paper to the top StampWheel Plexiglass cover. This will stamp your images so they perfectly align with the cover die.
Tape panel to hardboard, brush water onto the embossed watercolor paper and loosely drop in liquid watercolors. I mixed my own custom colors in a watercolor palette using: Leaf, Orange,Dandelion and Strawberry liquid watercolors. Messy is good when doing this! I let my panel dry on the hardboard.
Lightly ink blend along the edges of the die cut cover panel with Fawn and Root Beer ink to lightly distress your cover panel. This adds a bit of dimension and keeps your panel from looking flat.
Glue your die cut panel to your watercolored base and add your sentiment.
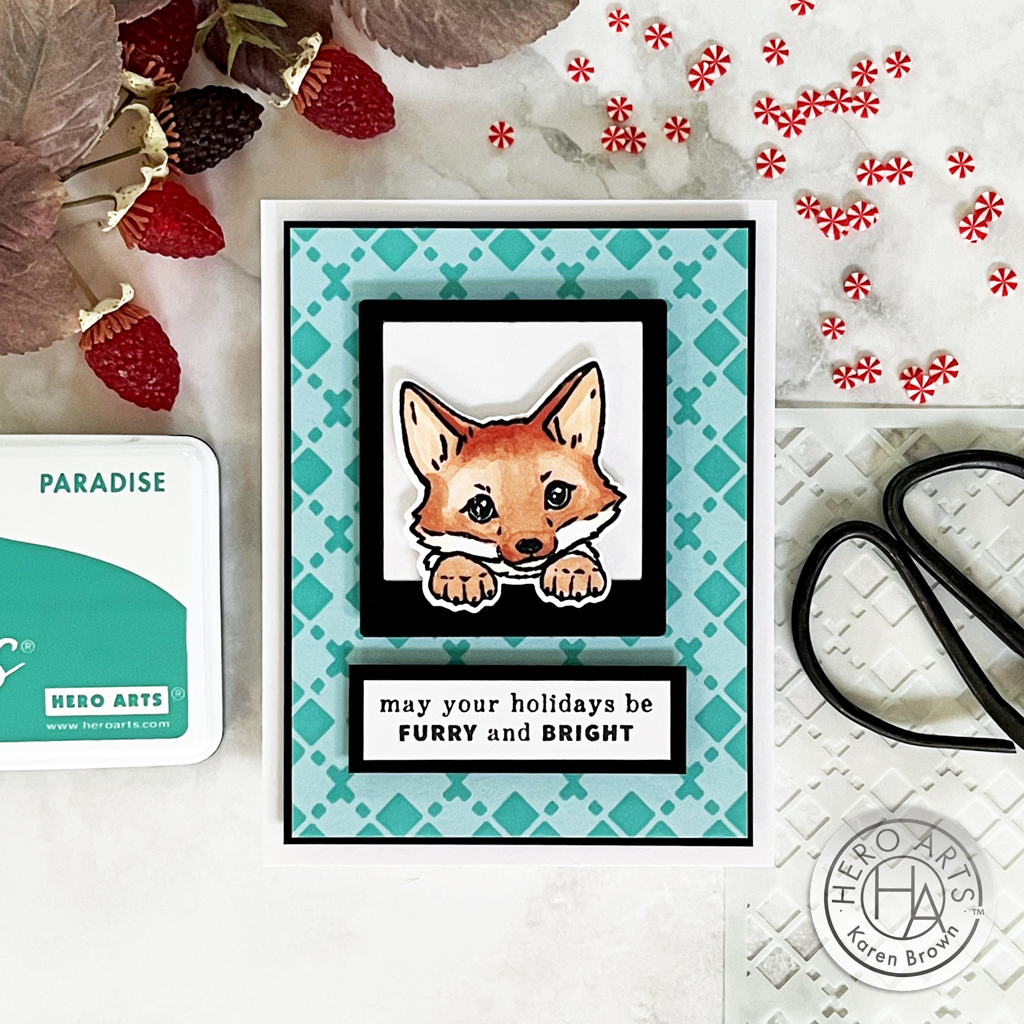
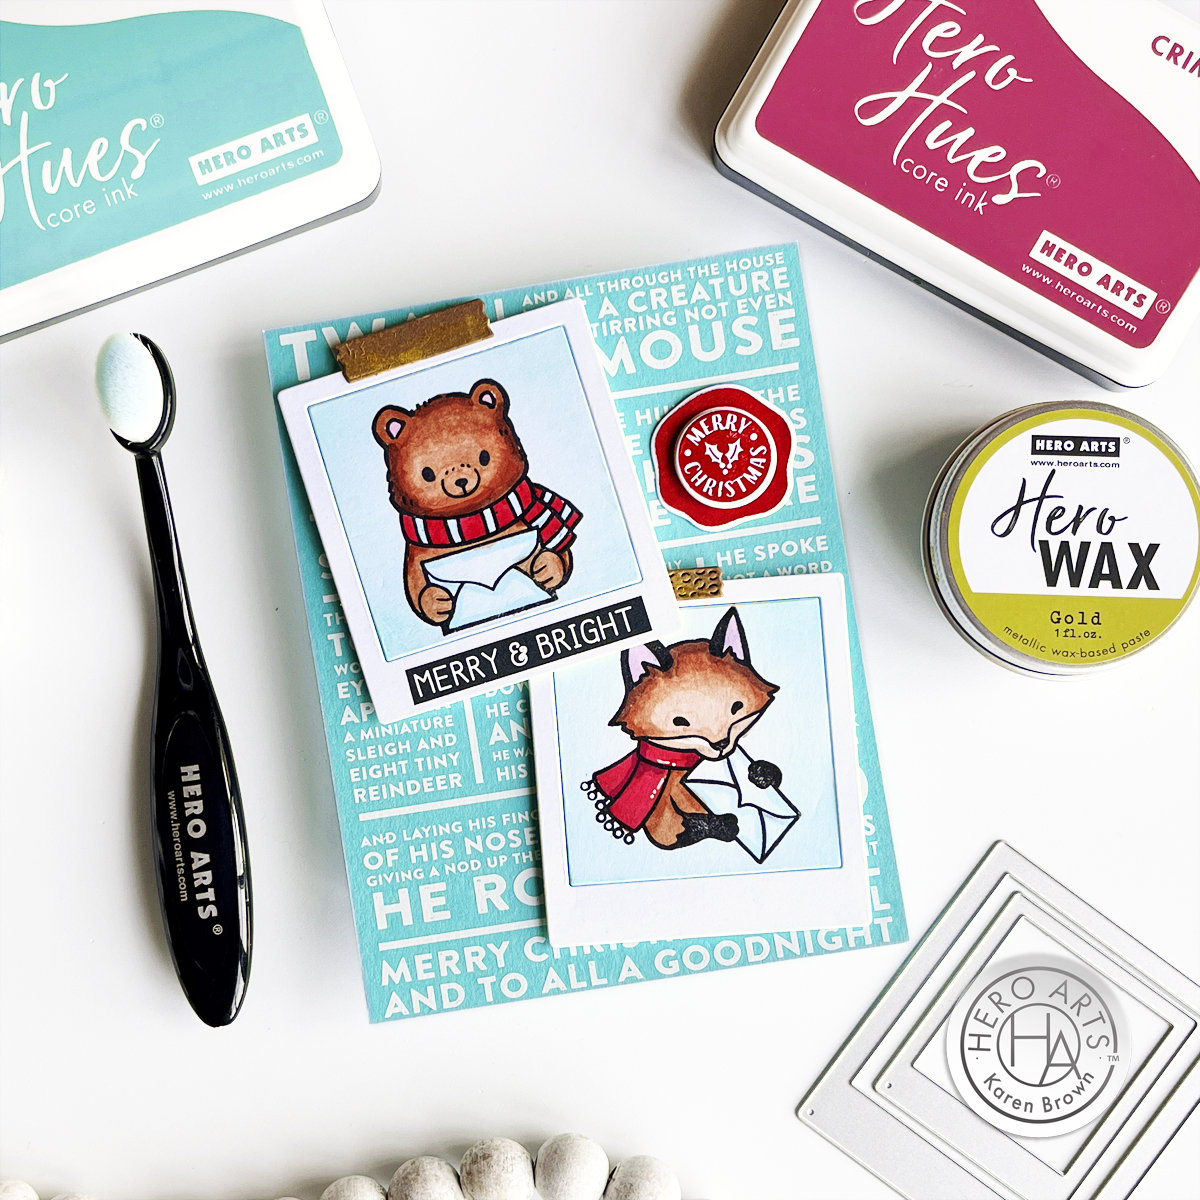
Winter Mail Critters: The Definition of Cuteness!
I really love my third card! The Winter Mail Critter stamps are the cutest! I have a few pics + directions on how I created this card below, so keep scrolling…..
The background was so easy! I rubbed on the fun Twas the Night Before lettering from the White Holiday Collage Hero Transfers (RT121) with a bone folder and all the writing transfered to the paper perfectly on the first try. The card background is Paradise cardstock.
I wanted a pop of red, so I stamped and die cut a Merry Christmas Wax Seal using Crimson Core Ink. I also put a dab of Hero Wax Gold to add a little depth and shine to the “photo tape”
I assembled my card with foam tape and it is ready to send.
Copic Colors Used:
Browns: E27, E15, E13, E11, E5
Reds: R27, R39
Pink: RV11
Blue: B00
Blog Hop Info:
Hero Arts will give away TWO $50 gift cards, drawn from the comments left across the hop. Enter by Wednesday, August 28th at 11:59pm PT. The winners will be announced on the Hero Arts blog.
Today I used a bunch of lovely new products from Hero Arts 2024 Holiday Catalog but there are so many other great additions that I know you will love. Thanks for stopping by today and “hopping” with Hero Arts.
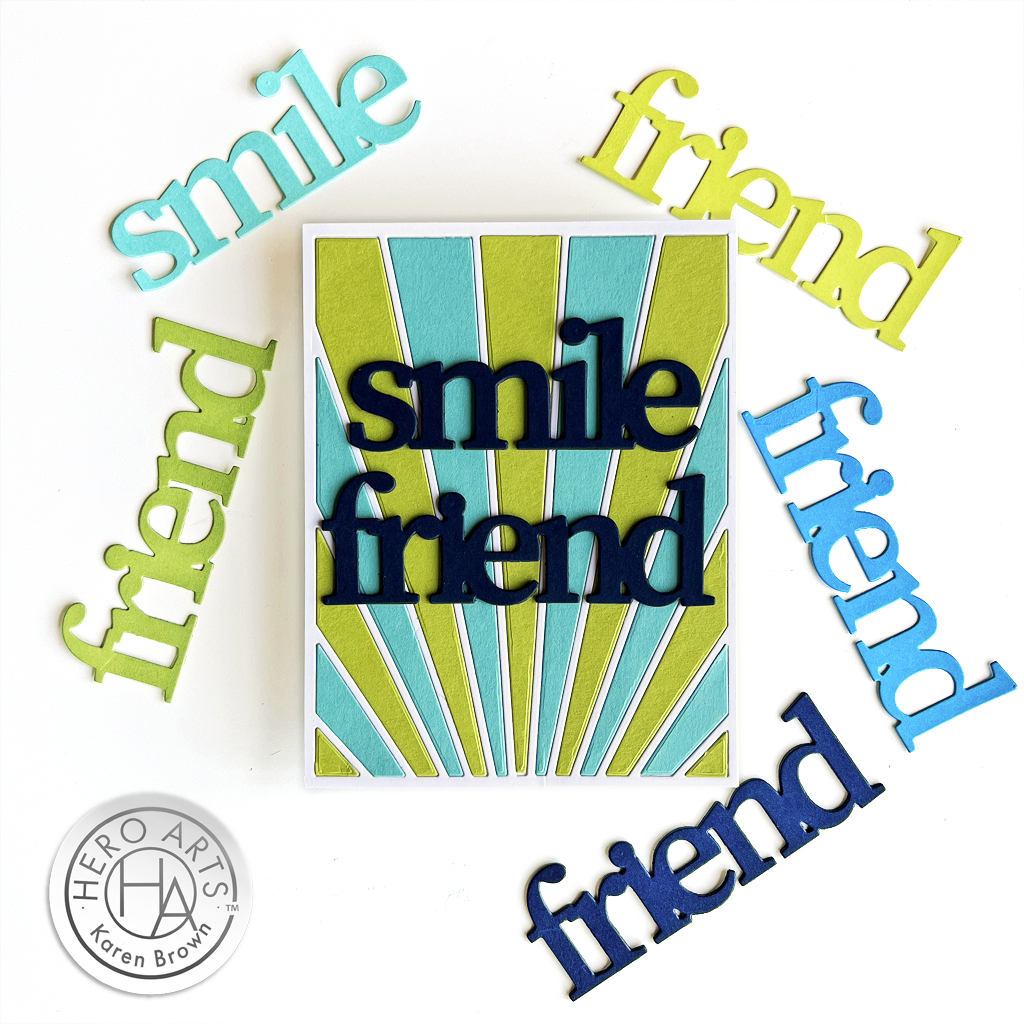
I wanted to start off with two fabulous new sentiment dies that I just love from Smile Friend Stamp and Cut XL. I went crazy die cutting a bunch so I will have them on hand for future cards.
DI945 Rays of Color Window Fancy Die (recently sold out)
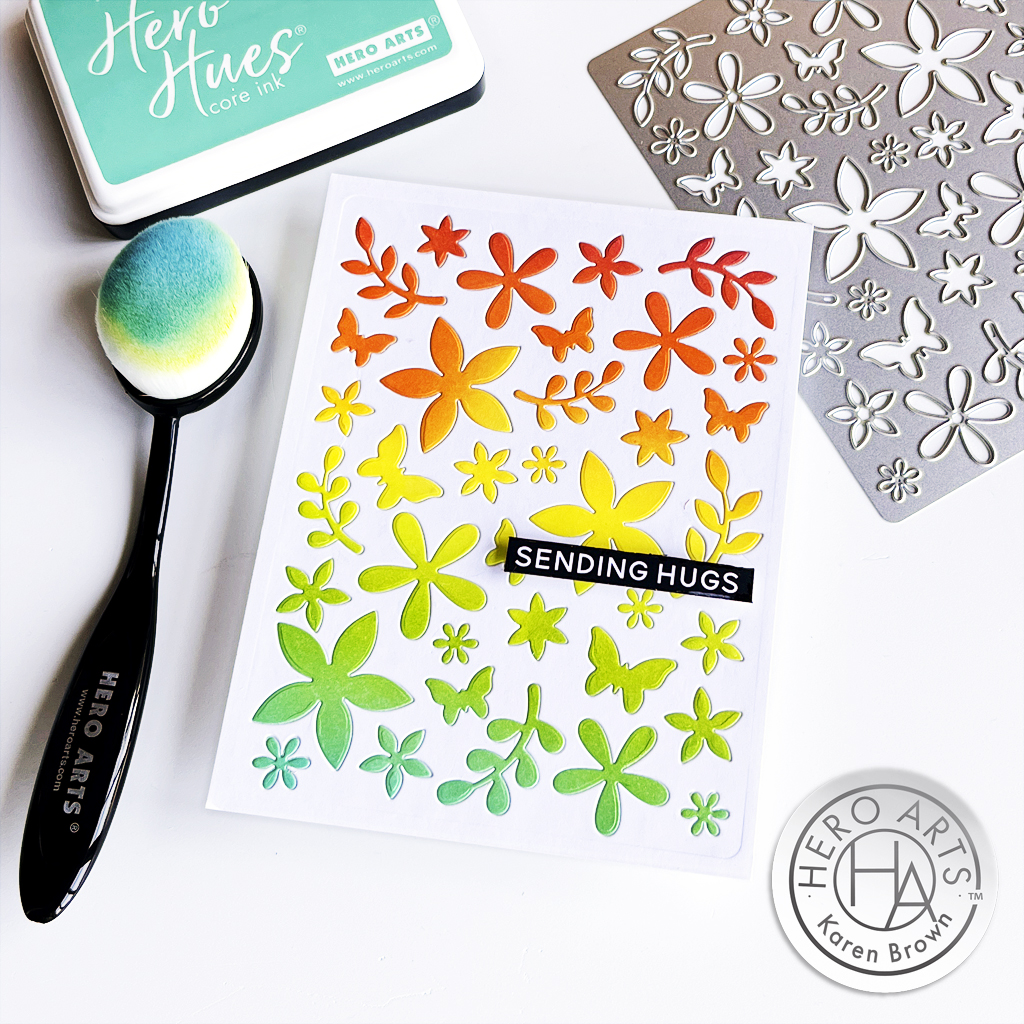
Flower Pattern Cover Die
I LOVE cover dies so I was excited to create with this Flower Pattern Cover Die, which is perfect for Spring and Summer. I started by ink blending a rainbow panel which I then die cut with the cover plate and then used the inlay technique to create a one layer background. This went more quickly than you would think because the die cuts fit like a good quality puzzle. My placement and gluing took about 20 minutes.
TIP: Keep your die-cuts in the panel until you start gluing so you know the orientation and position on your background.
Products Used on My Flower Pattern Cover Die Card:
Birthday Animals Stamps + Pointed Arches Infinity Dies
Isn’t this Alligator the cutest? He is one 7 animal stamps included in the Birthday Animals Bundle. The set also includes 8 birthday/everyday sentiments. I combined the stamps with the Pointed Arches Infinity Dies. Infinity Dies are definitely staples in my craft room and I like the interest the arches add to projects.
I love everything about Rub-on transfers. I love how easy they are to use, the look they add to projects and how fun they are to apply! This Spring, Hero Arts included “Sympathy Transfers” in their release. I did some quick ink blending on my background and then added my Hero Transfers for a quick and easy card.
Hero Arts will be giving away two $50 gift cards, drawn from the comments left along the hop. Comment on all the blogs for more chances to win! You have until Wednesday, February 21st at 11:59pm to enter. The winners will be announced on the Hero Arts blog.
Kailash Naidoo is next on the hop and I have links to everyone below.