Sometimes, a handmade card can transport us to a place of pure nostalgia and joy. That’s exactly what this Winnie the Pooh-inspired birthday card does! With die cuts, soft ink blending, and a cheerful color palette, this whimsical creation captures a moment straight out of the Hundred Acre Wood.
Key Products Used:
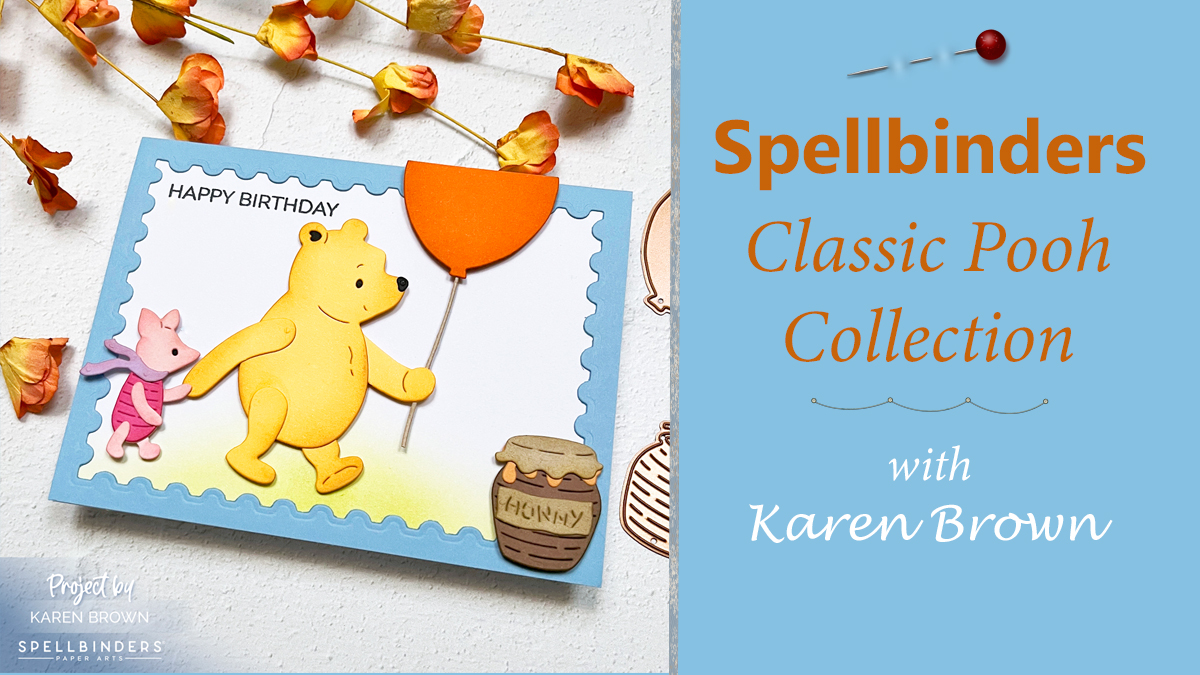
- Classic Pooh Collection from Spellbinders
- Pooh and Piglet Dies
- Classic Pooh Die Bundle
- Platinum 6 Die Cutting System
- Hero Arts Inks (Fawn, Key Lime Fizz, Root Beer)
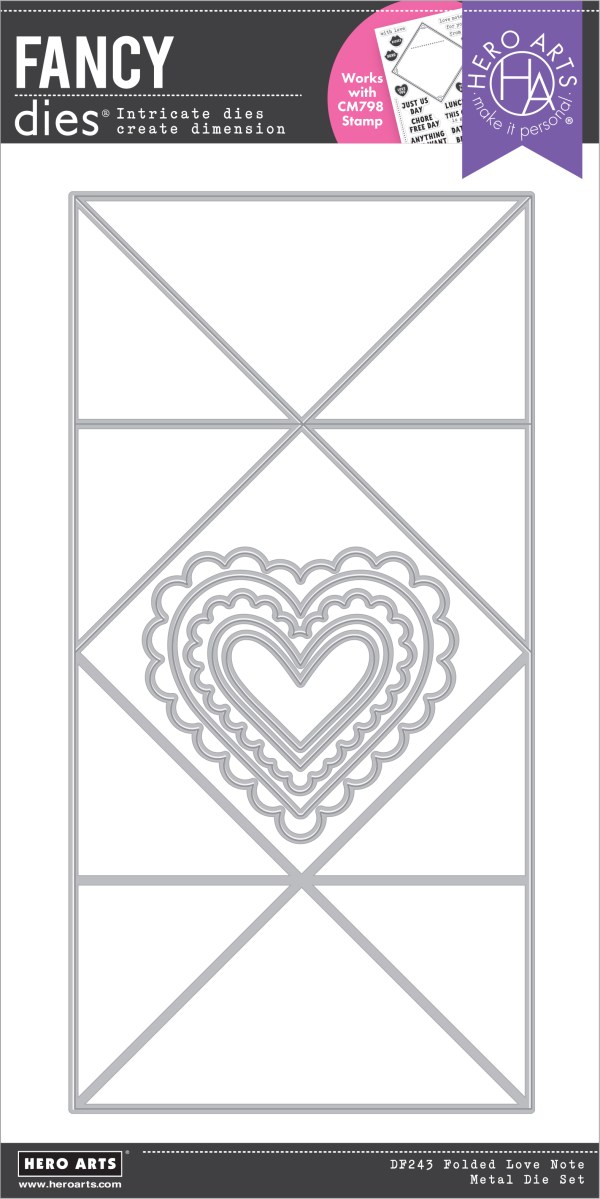
- Hero Arts Postage Frame Dies
You might also enjoy reading my recent post: Cozy Little Hello Cards with BetterPress | Winnie the Pooh Scene Cards.

Creating the Scene
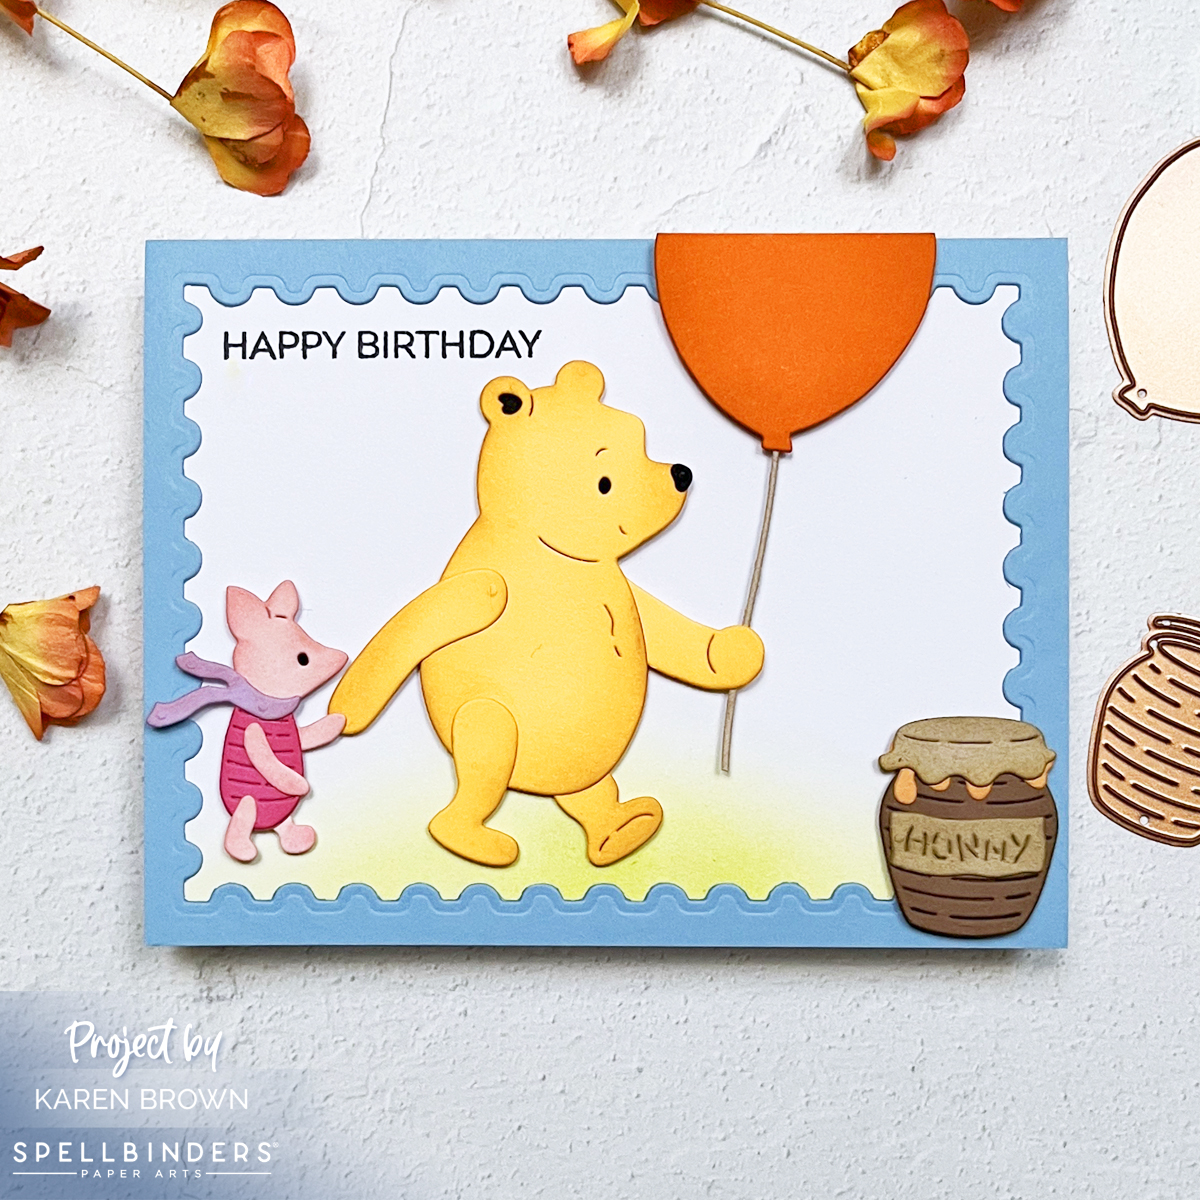
This card brings to life a heartwarming scene of Winnie the Pooh and Piglet holding hands, walking side by side. The duo is accompanied by a playful orange balloon on a string, gently floating above. A honey pot rests on the ground, completing the sweet and simple vignette. The background features softly ink-blended green grass, framed by a charming postage stamp-style border in periwinkle blue, adding just the right touch of whimsy.
Techniques for Dimension and Charm
The die cuts are the stars of this card, and a touch of light ink blending adds depth and dimension to each element. Winnie the Pooh’s honey-colored body gets a subtle gradient to make him pop, while Piglet’s pink details are gently shaded for softness. The balloon shines bright in orange, with its string creating a delightful sense of movement.
The grass is ink blended in gentle greens, giving the scene a soft, storybook feel. Meanwhile, the periwinkle frame ties everything together with its postage stamp shape, reminiscent of a cherished letter from the Hundred Acre Wood.
Why This Card is a Classic
This Pooh-themed birthday card is more than just a greeting; it’s a tiny piece of nostalgia wrapped in creativity. Perfect for anyone who loves the timeless tales of Winnie the Pooh, this card is sure to bring a smile to their face and a touch of magic to their special day.
Today’s card is for a friend’s birthday, but I think it would also be great as a Get Well Card.
Happy crafting and see ya next time!