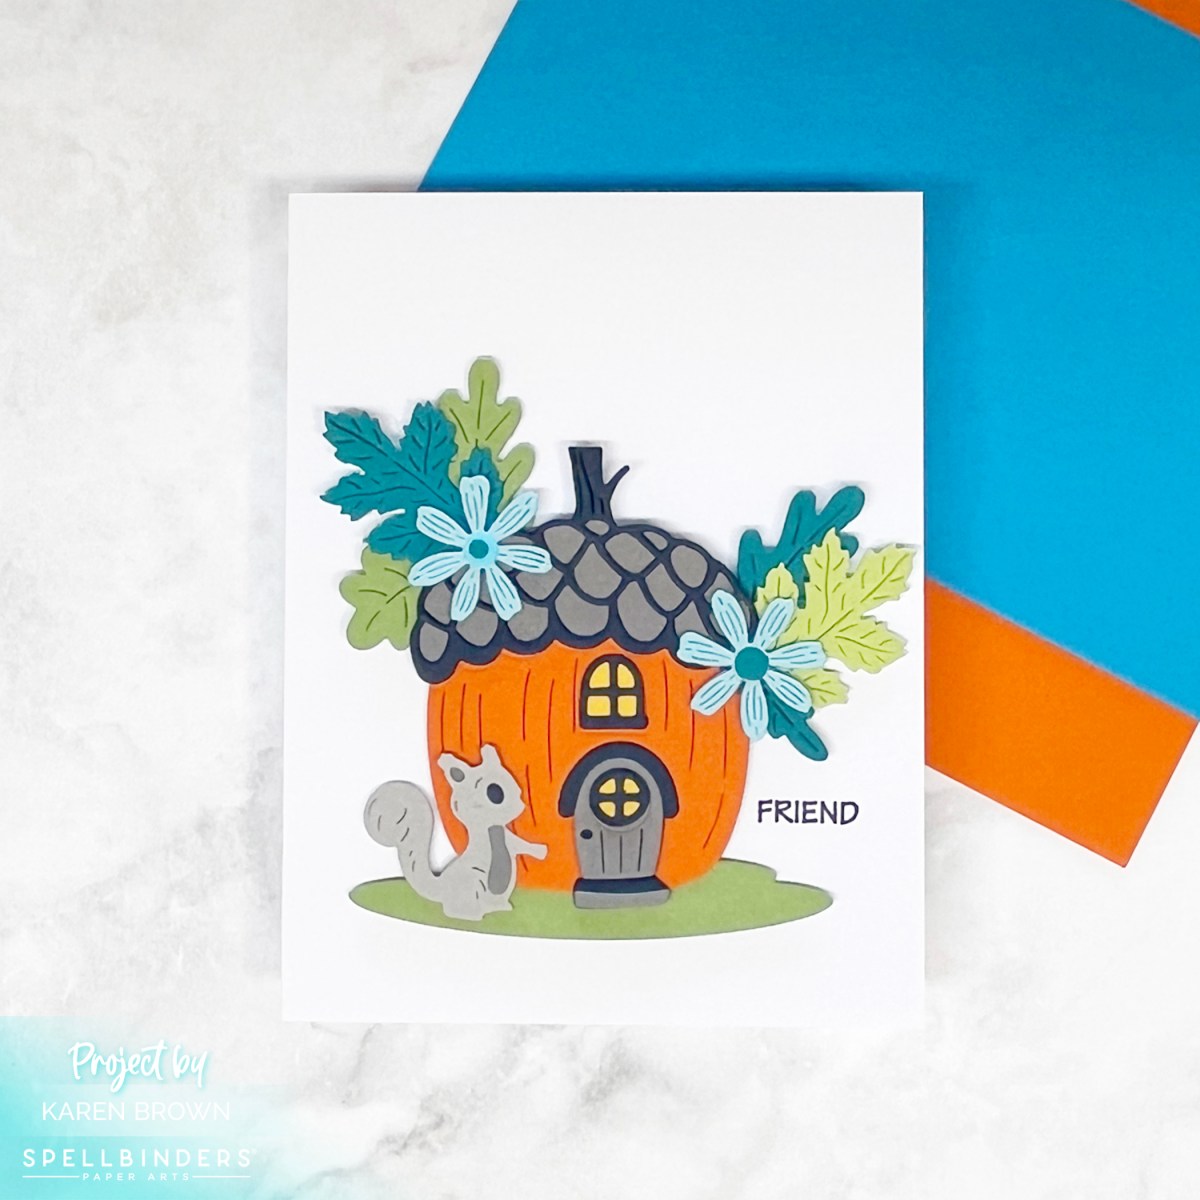
I have exciting news to share — I’ll be joining Hero Arts for Craft Lounge LIVE #4! 🎉
This is my second time hanging out in the Craft Lounge, and I had such a great time last summer that I’m thrilled to be back again. If you love crafty inspiration, laughs, and a creative party atmosphere… mark your calendar!
Get all the details and RSVP HERE!
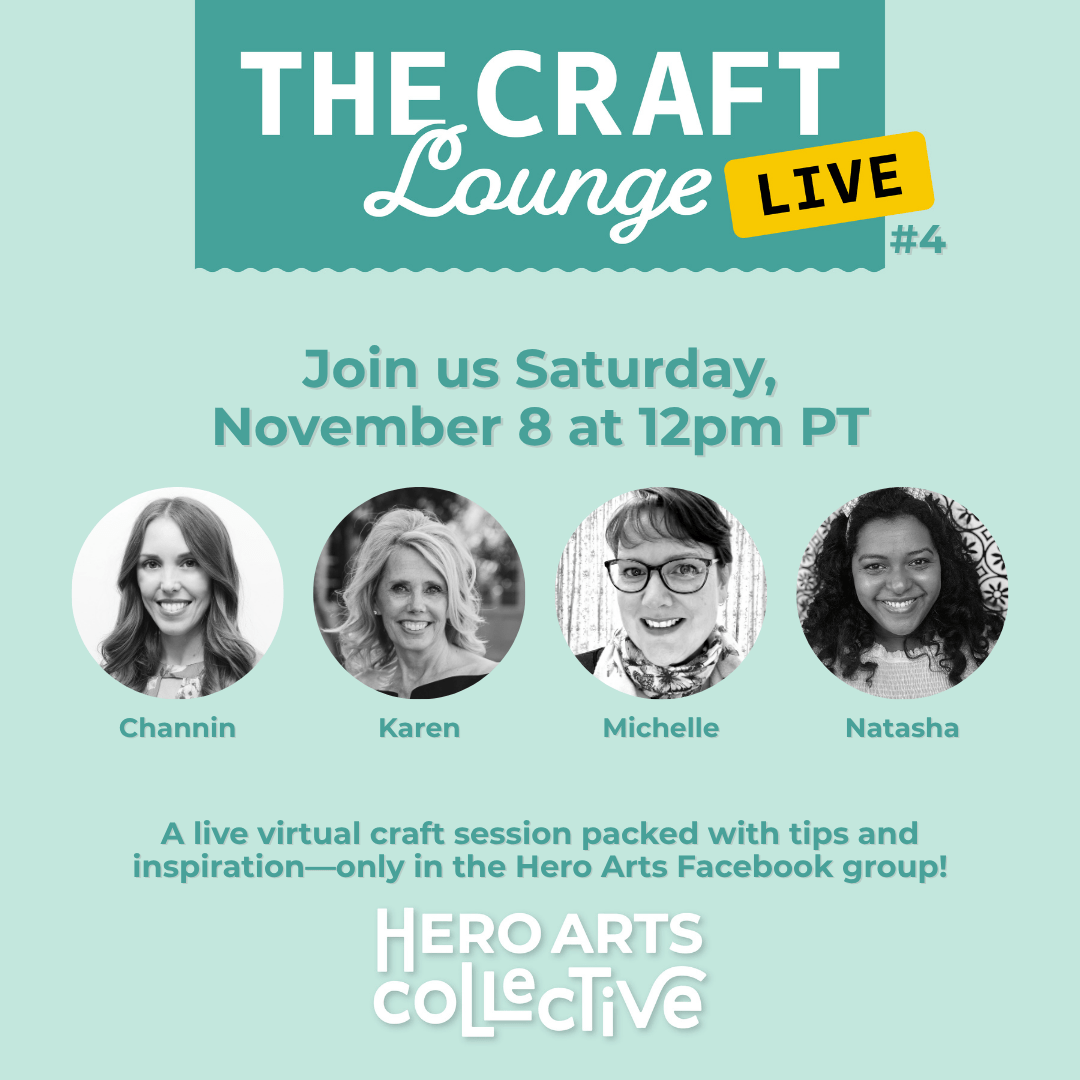
🗓️ Event Details
Craft Lounge LIVE #4
📅 Saturday, November 8, 2025
⏰ 12:00 PM PT
🎥 Streaming LIVE with The Hero Arts FaceBook Group: Hero Arts Collective
Who’s Crafting With Me?
I’ll be creating alongside some fabulous Hero Arts teammates:
- Natasha
- Michelle
- Karen (that’s me!)
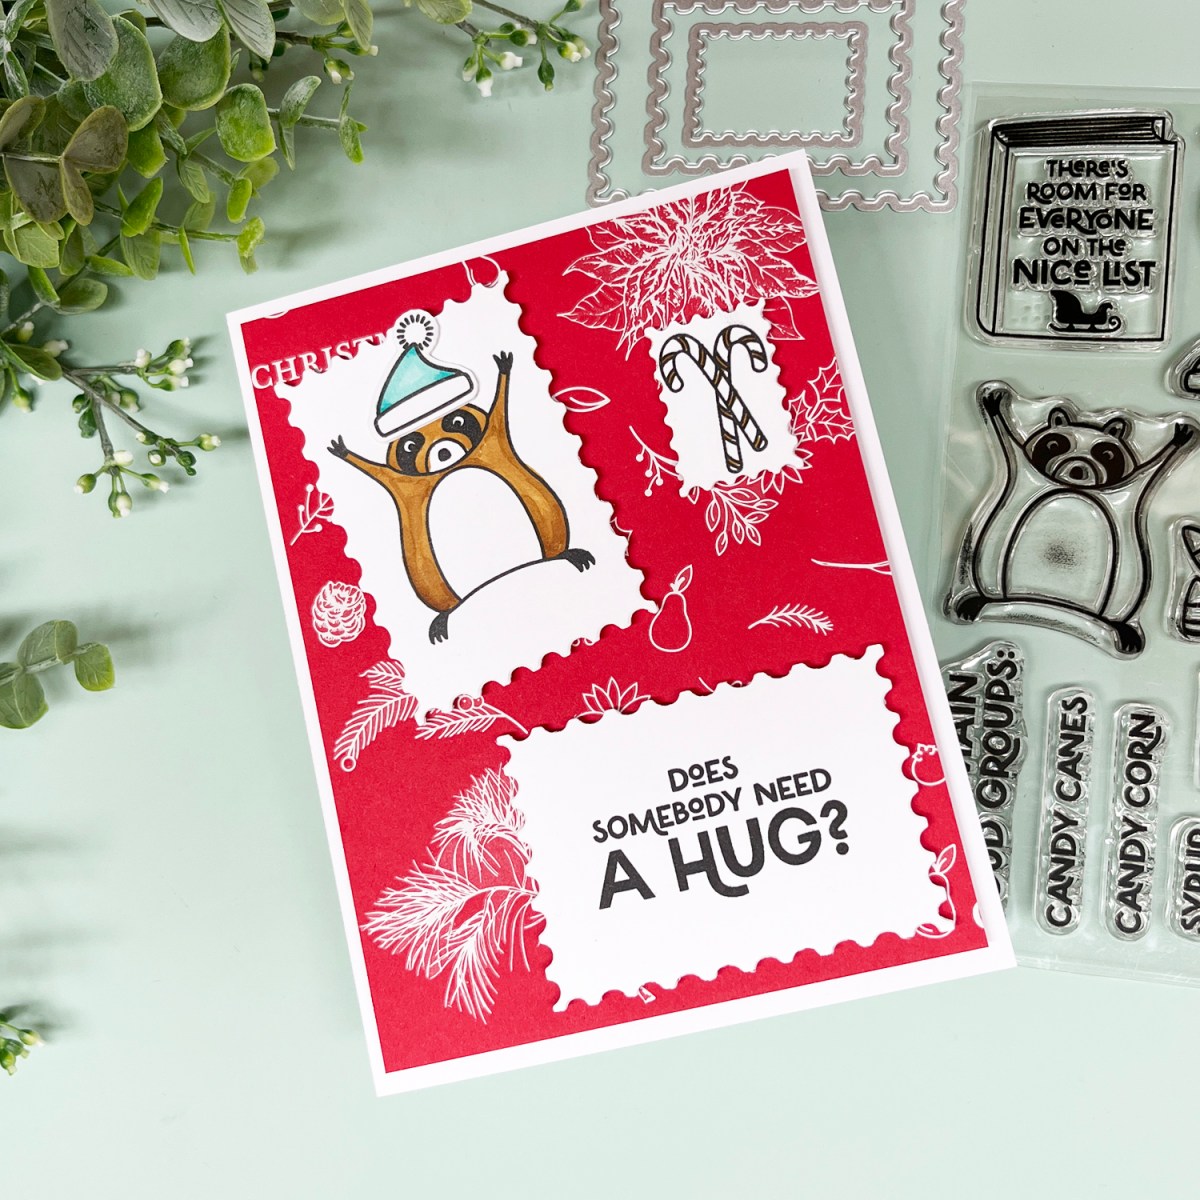
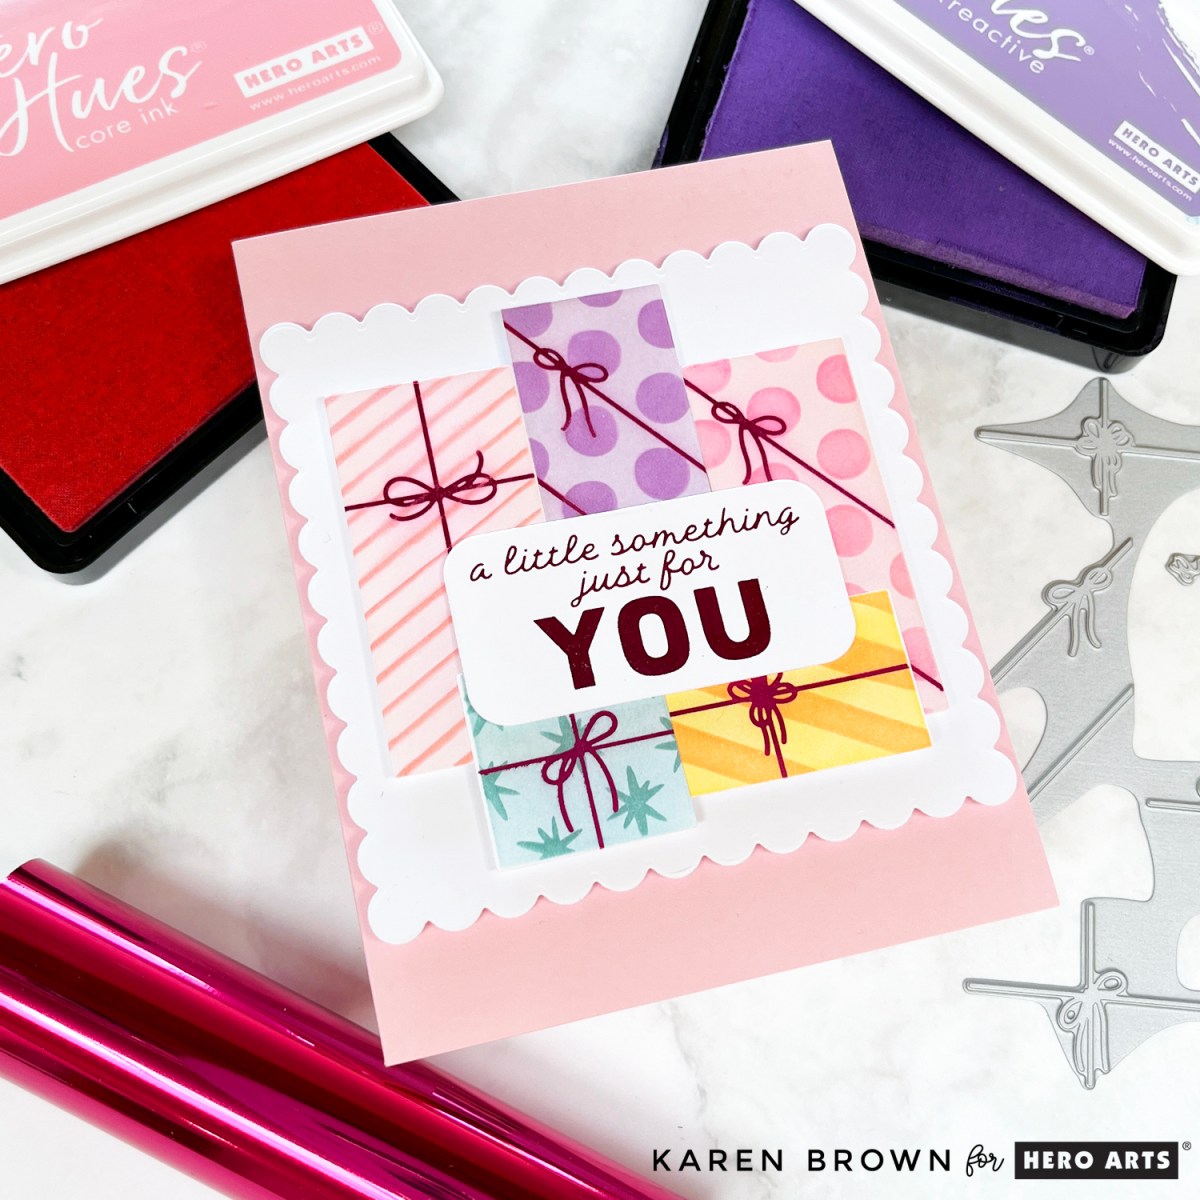
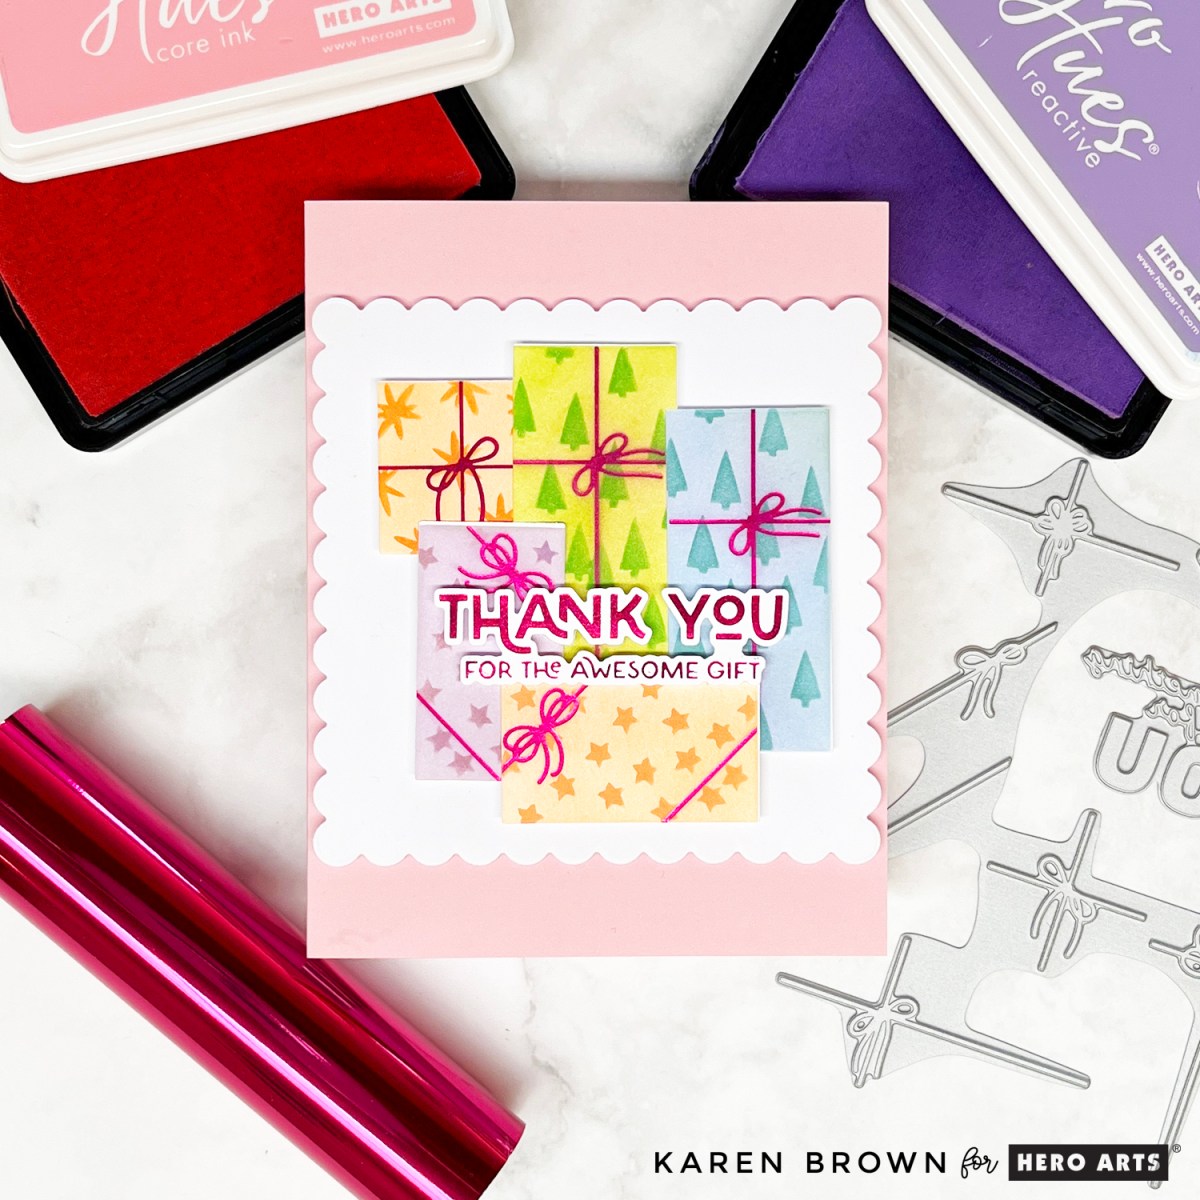
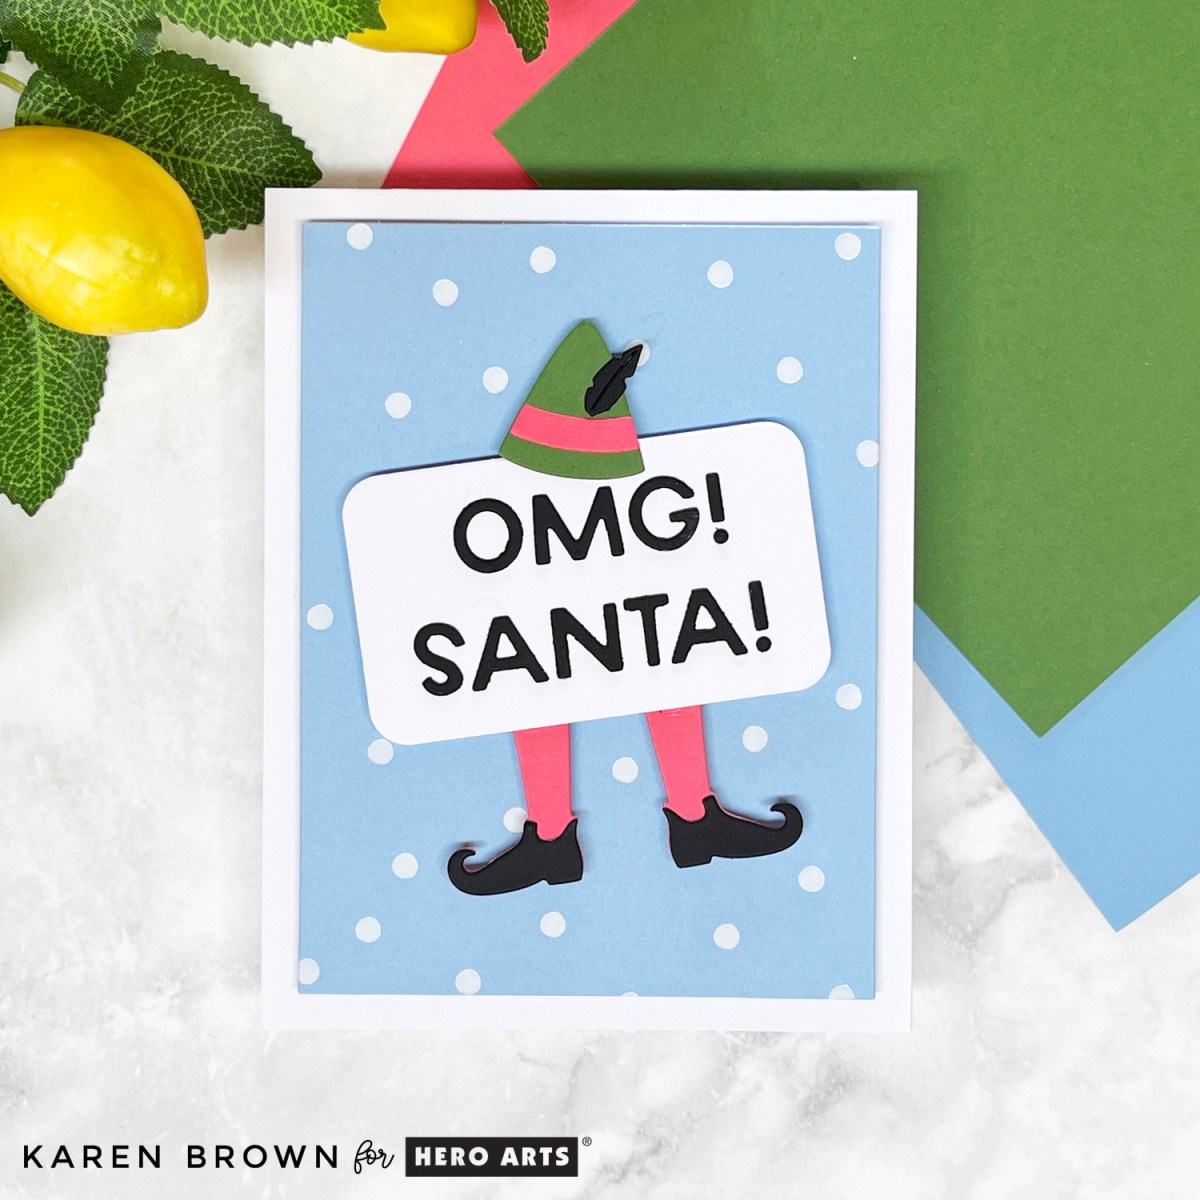
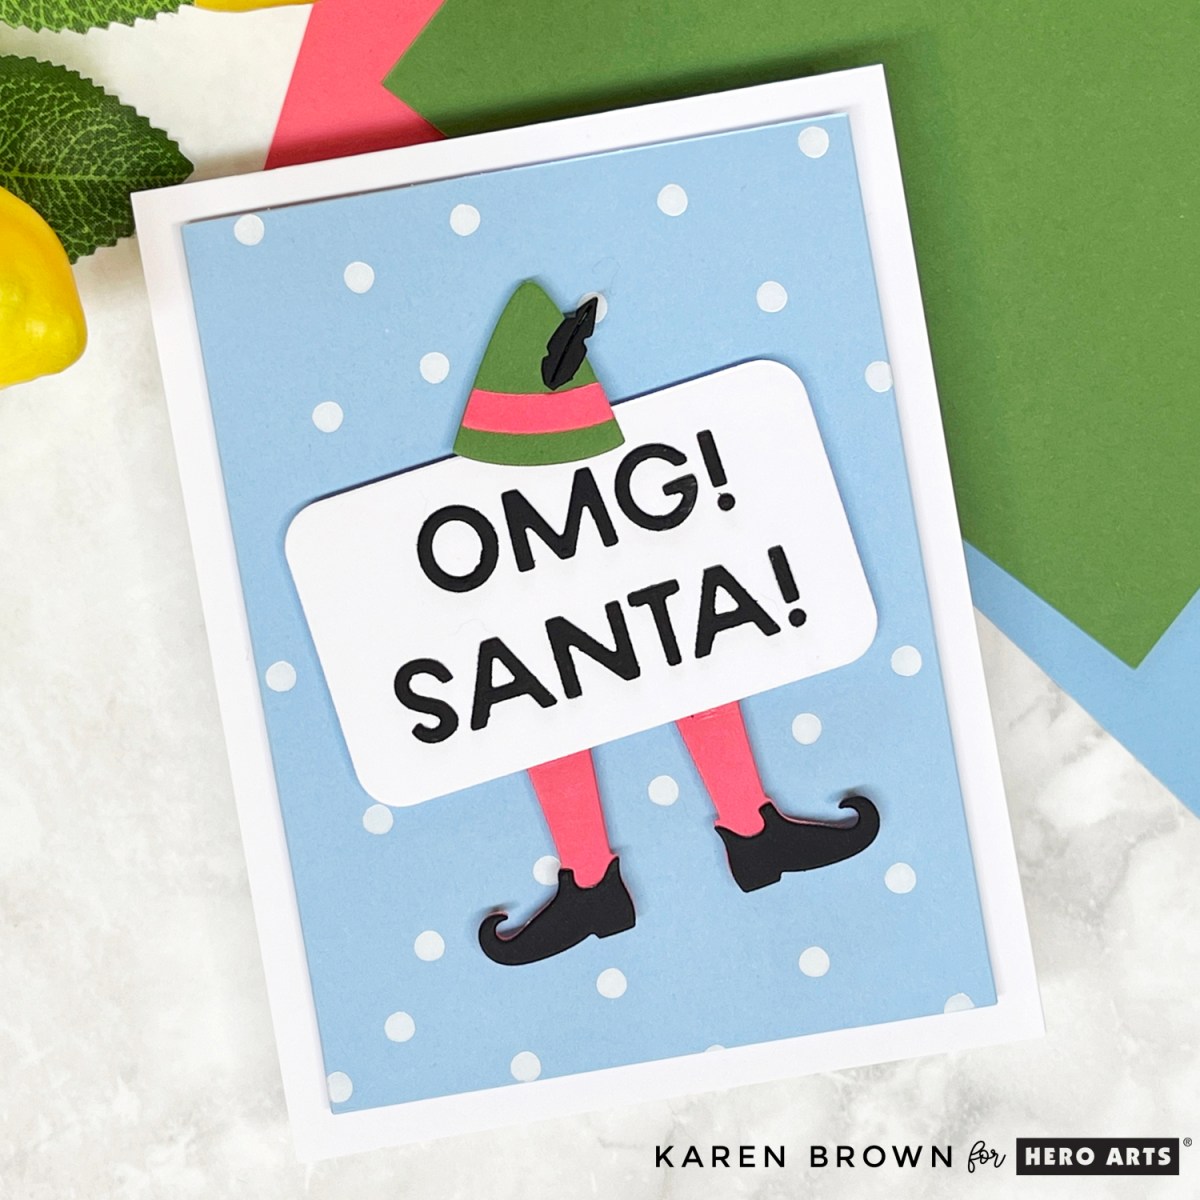
- Channin
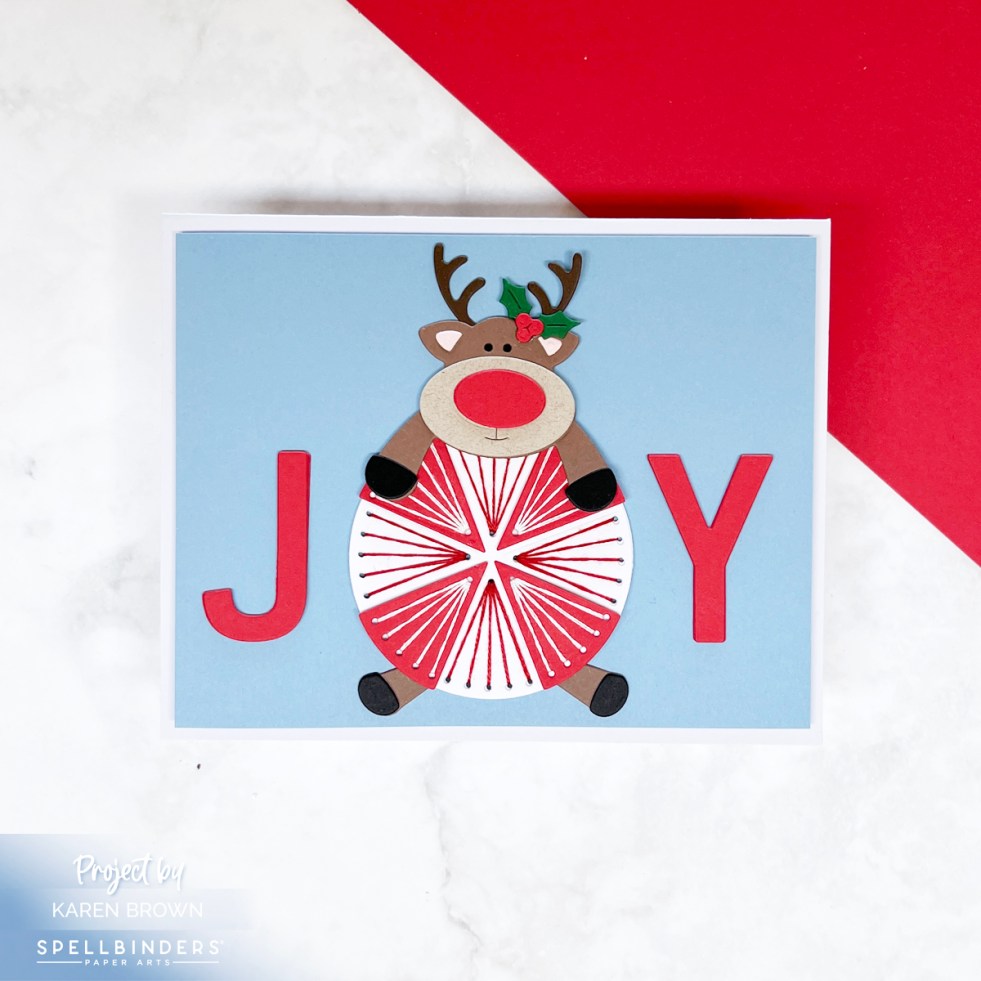
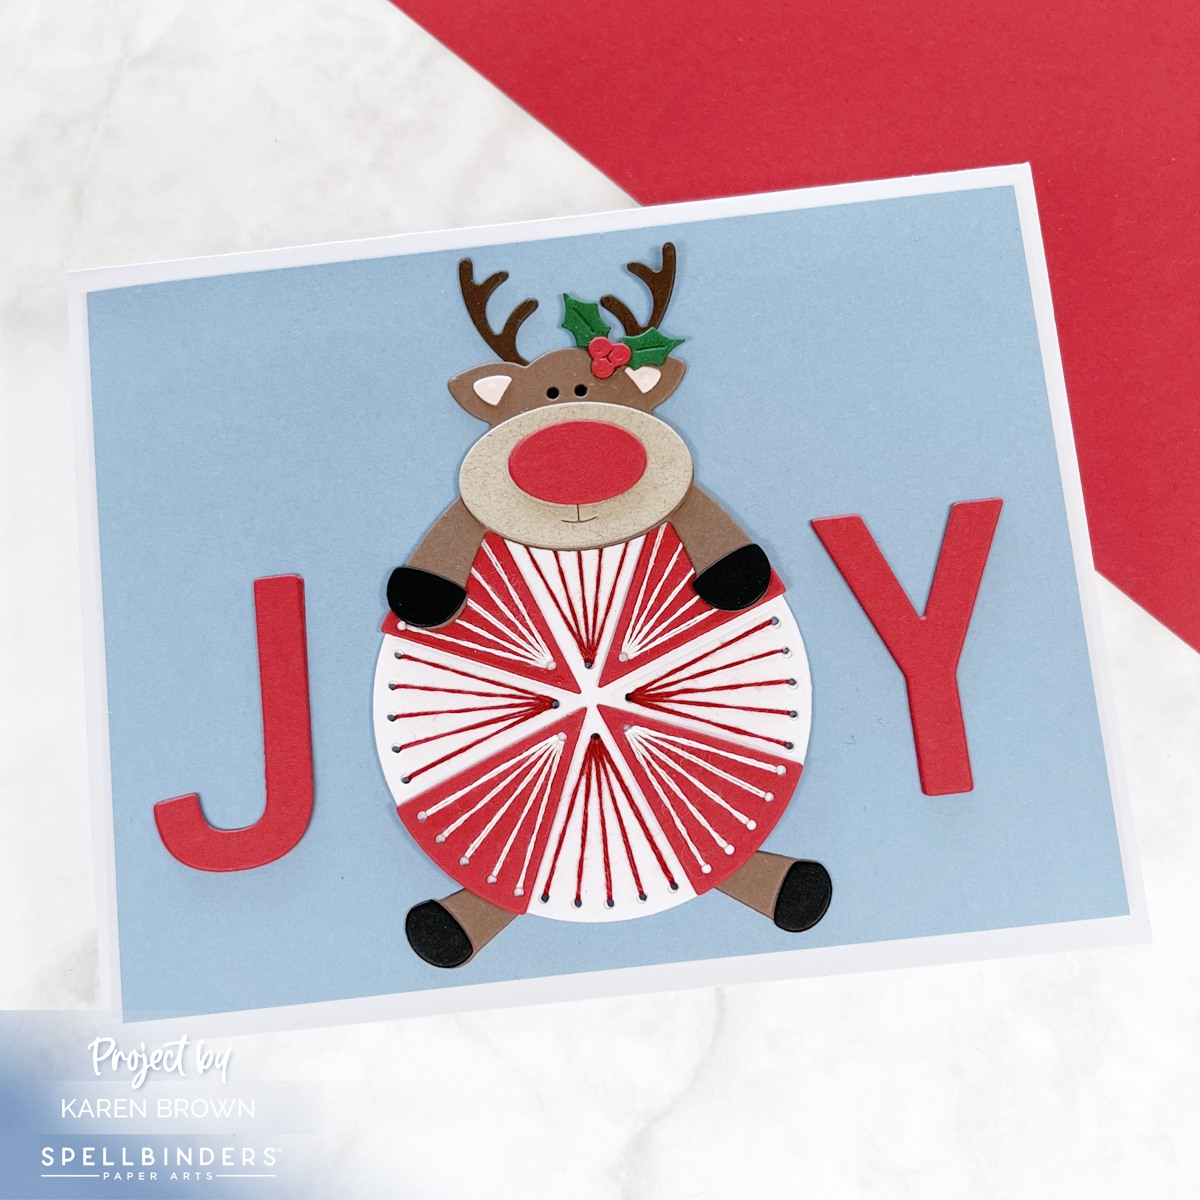
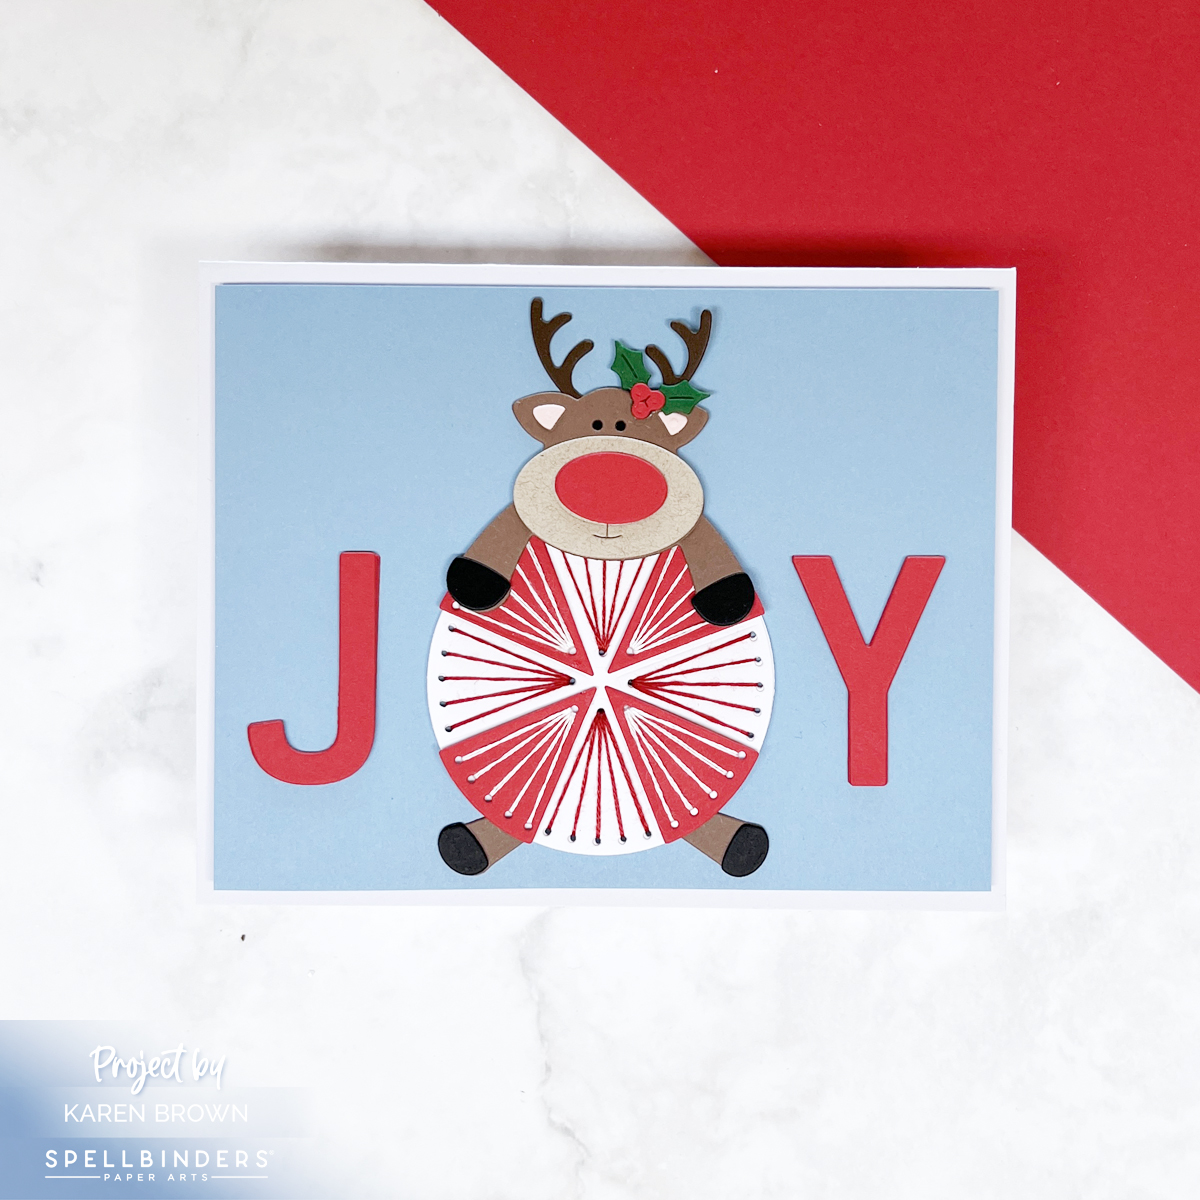
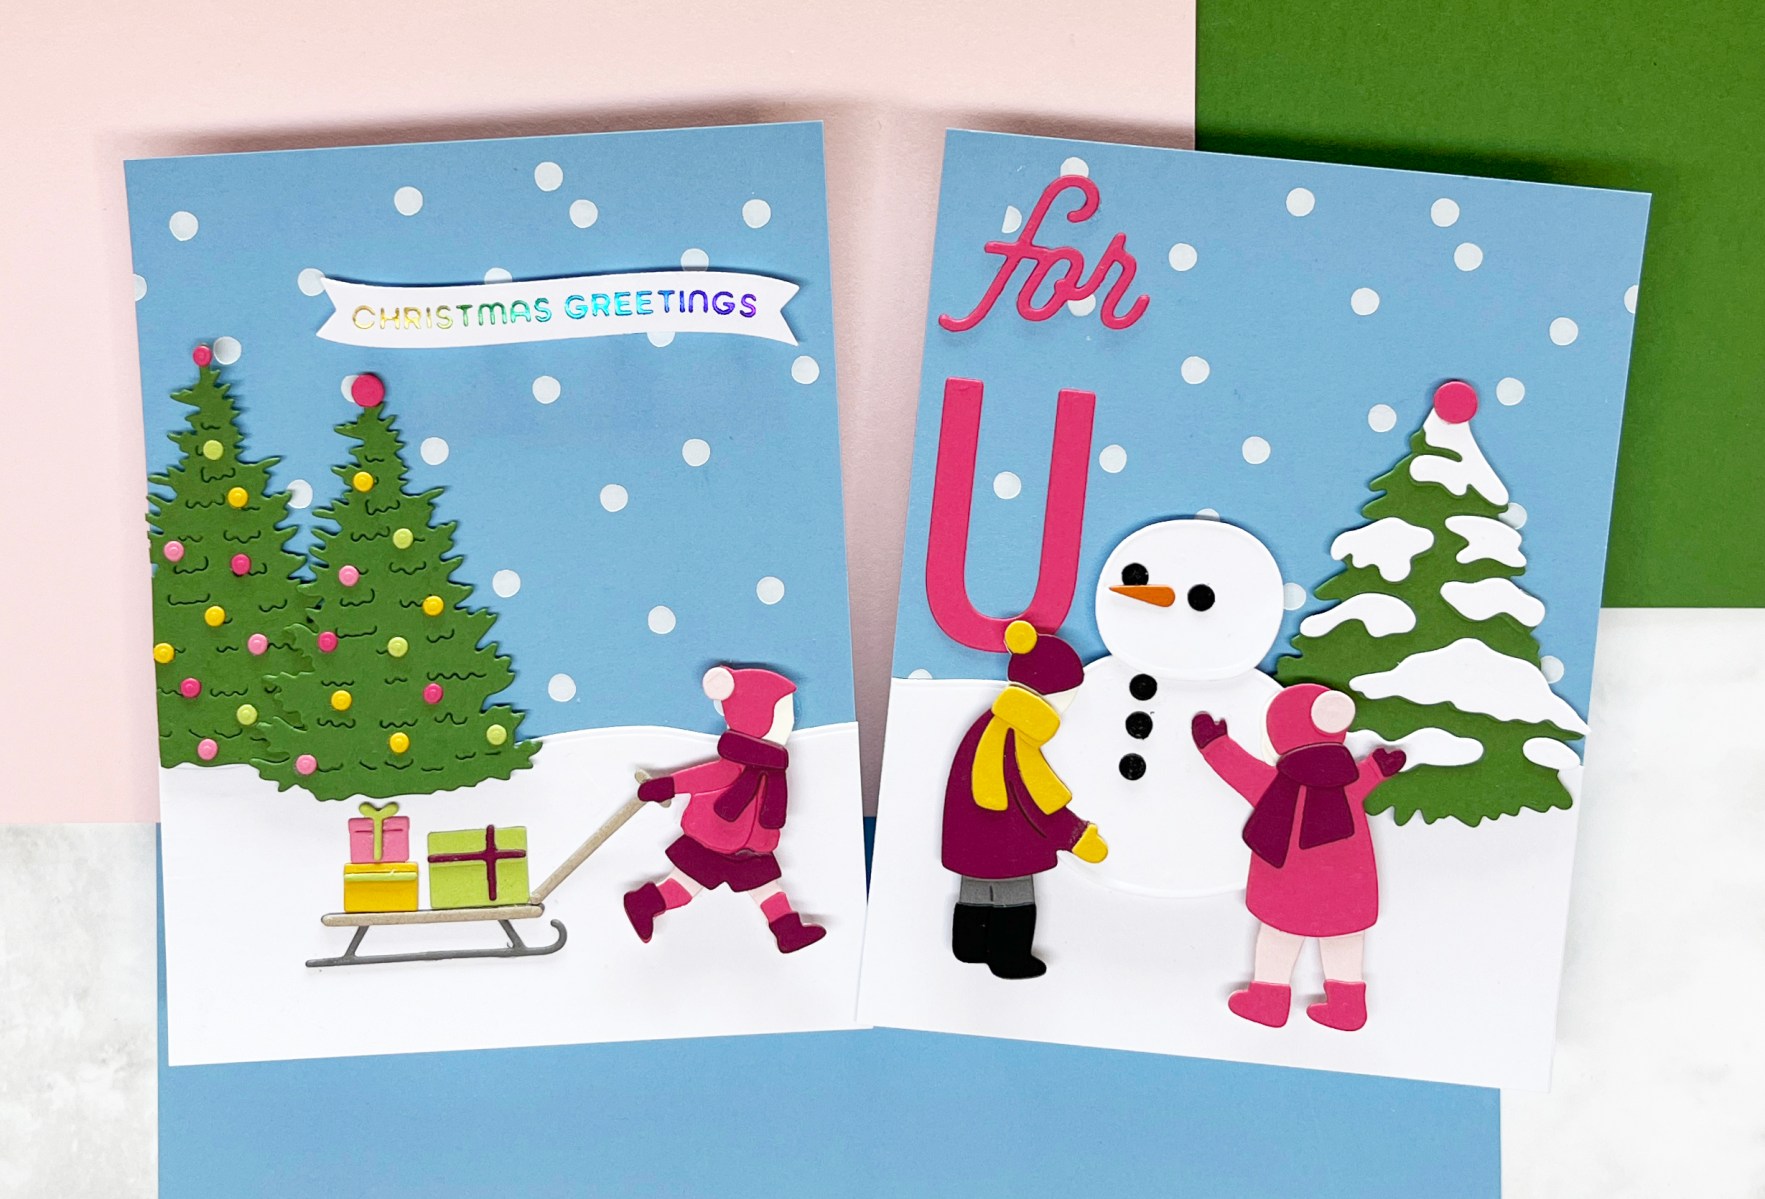
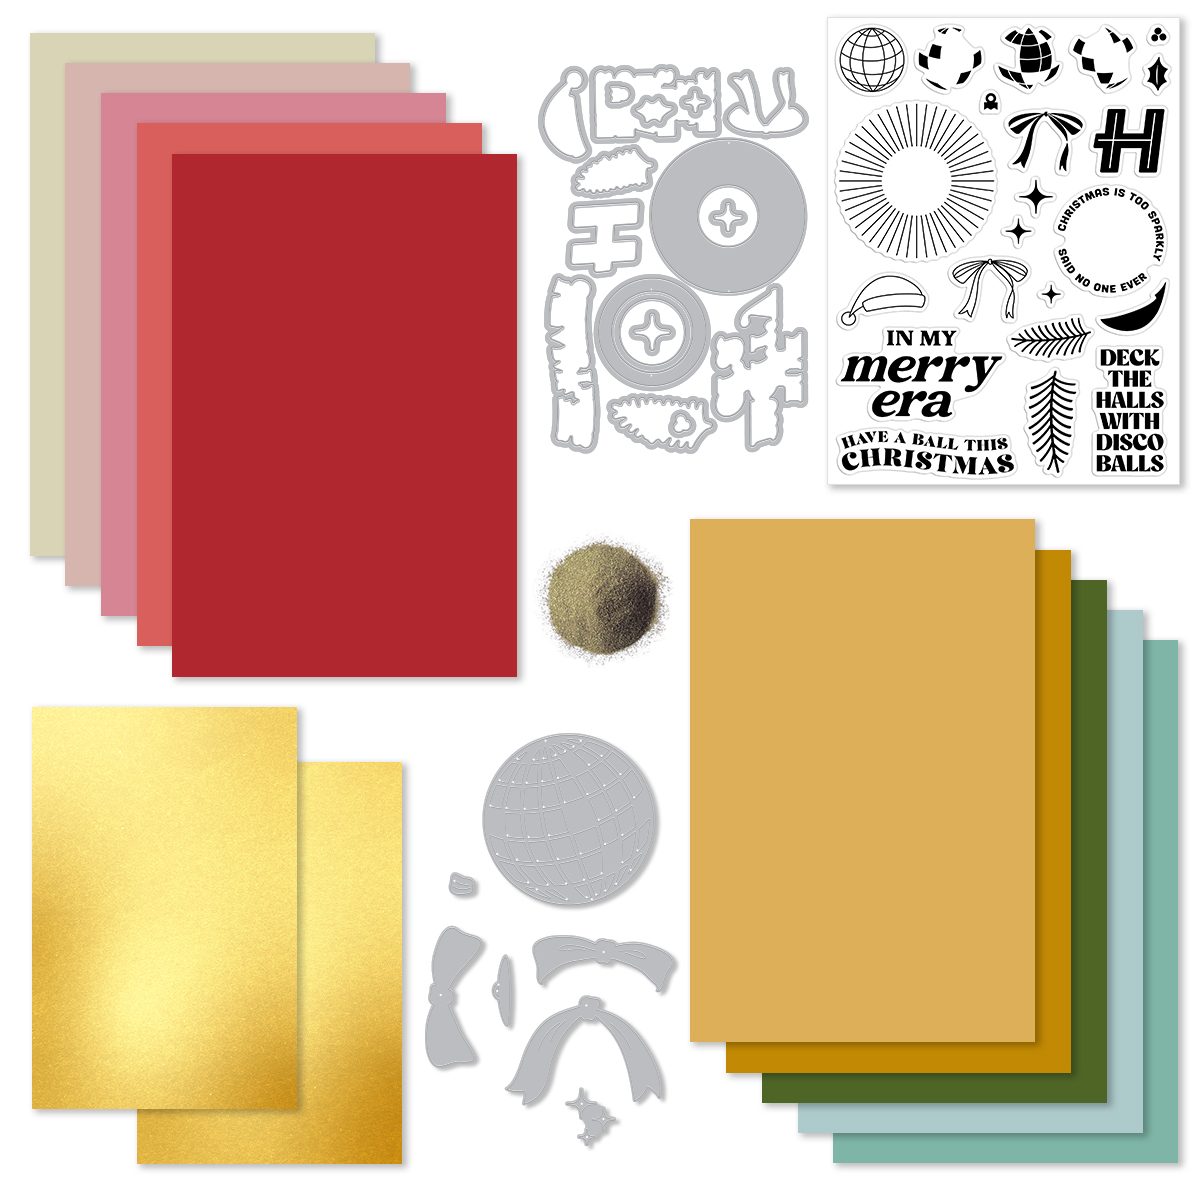
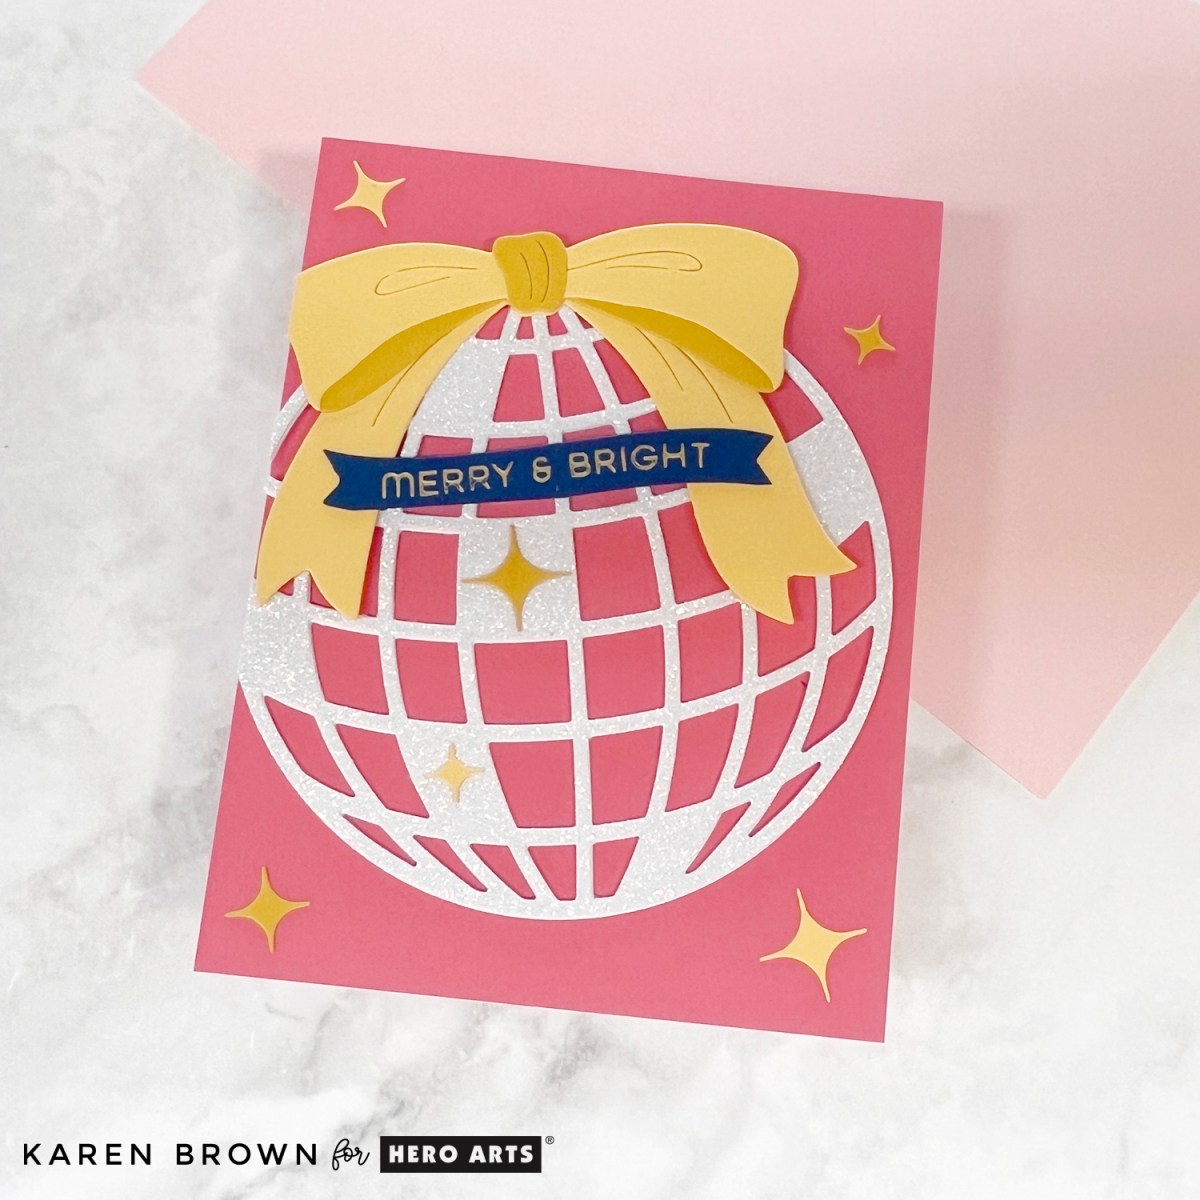
We’ll be crafting with The Best Gift Ever Collection, sharing projects, festive inspiration, and plenty of crafty cheer. This collection is so versatile and works year round!
Oh — and did I mention…
🎄 We’ll be wearing ugly sweaters! We hope you’ll wear your ugly sweater too! 🤣
So come ready for creative fun, holiday spirit, and at least one questionable sweater choice.
…..and there is a giveway too!
🎁 Join the Fun!
Bring your coffee, cocoa, or holiday mocktail, settle into your craft lounge, and come chat LIVE with us. I can’t wait to hang out and make some holiday magic together! ✨
👉 Hope to see you there — and be sure to say hi in the chat!