Hello, hello! Today’s card features Spellbinders Large Die of the Month Kit for January 2025. The Botanical Atrium, is a die-cut lover’s dream with gorgeous floral details, a luxurious gold frame, and a fresh aqua-and-coral palette.
Creating With the Large Die of the Month Kit | January 2025

I used shiny gold cardstock to make the atrium stand out against a crisp white background, and wow—does it ever pop! Inside the frame, delicate coral and aqua florals cascade in a lush arrangement, creating a playful yet refined design. I’ll be using the florals on loads of future cards!
Key Products Used:
- Spellbinders Large Die of the Month
- Spellbinders Cardstock Happy Day Collection
- Brushed Gold Cardstock
It’s a great time to buy paper because Spellbinders is having a Paper Party Sale until January 26th!
Textured Touches: The Brick Background
To add a subtle yet striking detail, I stenciled a brick pattern on the white background using grit paste. Just here and there, mind you—like peeking through a garden wall. This little bit of texture gives the card depth without taking attention away from the gorgeous die-cut elements. It’s understated but oh-so-effective!

January 2025 Papercrafting Kits and Blog Posts
This year, I’ll be creating with 3 Spellbinders Kits each month. I’ve already published two posts that you might enjoy reading:
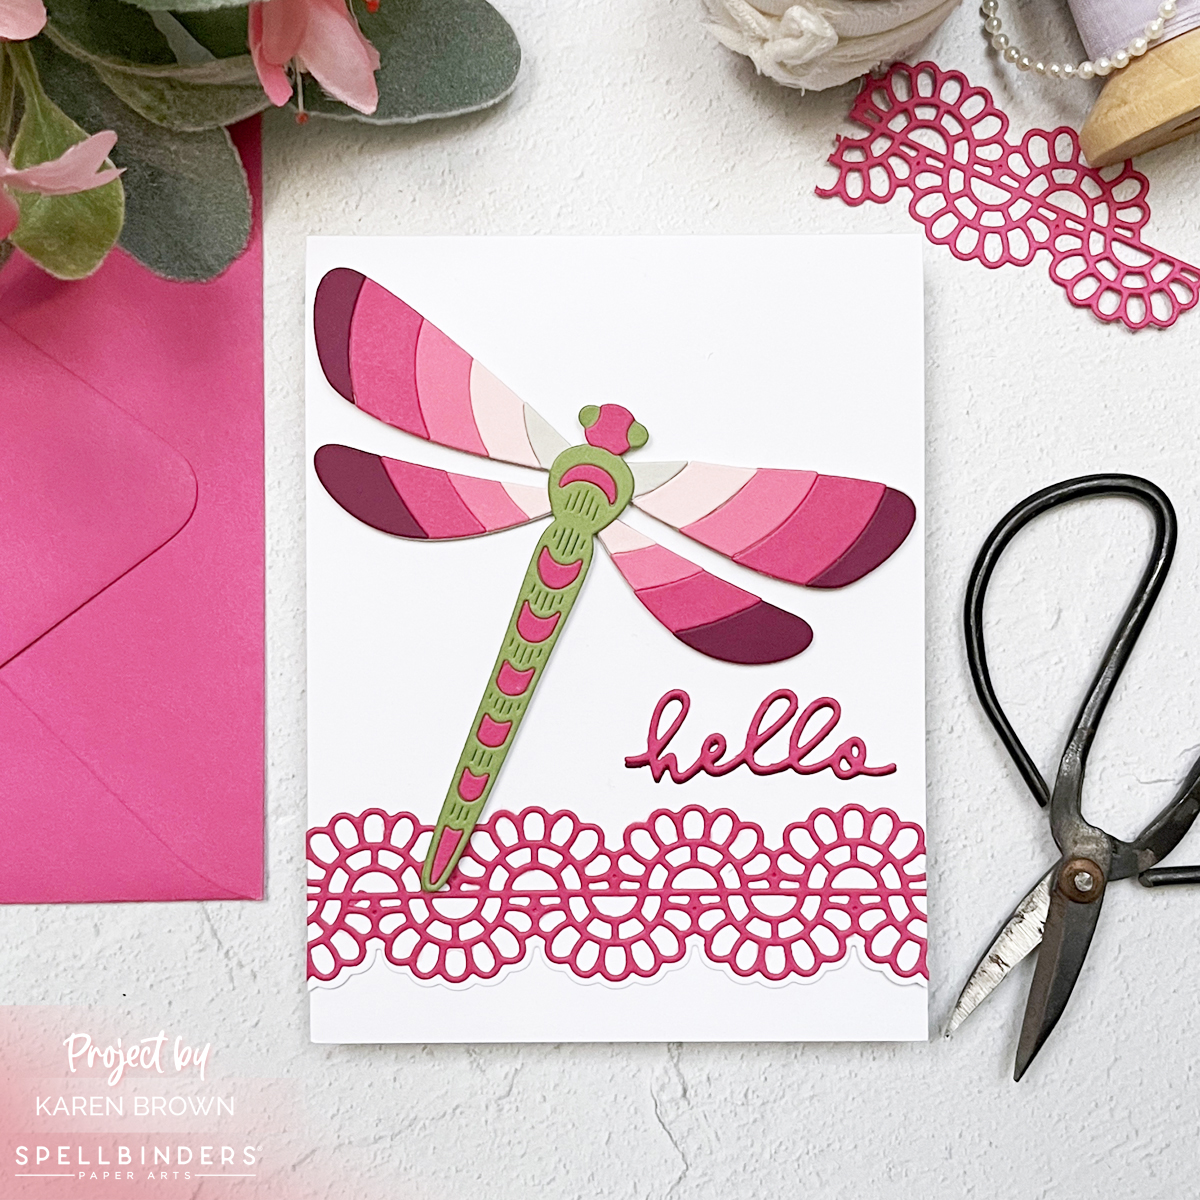
- Hello Gorgeous! Crafting with Spellbinders Die of the Month Kit (Dragonfly)
- Spellbinders | Stitching Die of the Month | Ladybug
Helpful Product Links:
- Spellbinders Small Die of the Month Kit – $27 value for just $15!
- Spellbinders Large Die of the Month Kit – $40 value for just $27.50!
- Spellbinders Stitching Die of the Month – $35 value for just $25!
- Spellbinders Deluxe Caboodle Kit – Get All 10 Kits, $350 value for just $120!
- Stitching Accessories
- Club Overview and Club Options
- Past Club Kits
- Spellbinders Shop
- Sarah Renae Clark’s Color Cubes
If a club did not sell out, you can buy under “Shop Past Clubs”. Past kits are available on the 10th of the FOLLOWING month.
The January Card Kit is both timeless and modern, and is a must-have for your stash. I hope you enjoyed my little creation!