Ahoy, crafty mates! It’s time to set sail on a creative adventure as we embark on Altenew’s 10th Anniversary Blog Hop! There is wonderful inspiration AND $3,500 in prizes!!!

“Summer Wishes” Beach Scene Card Kit:
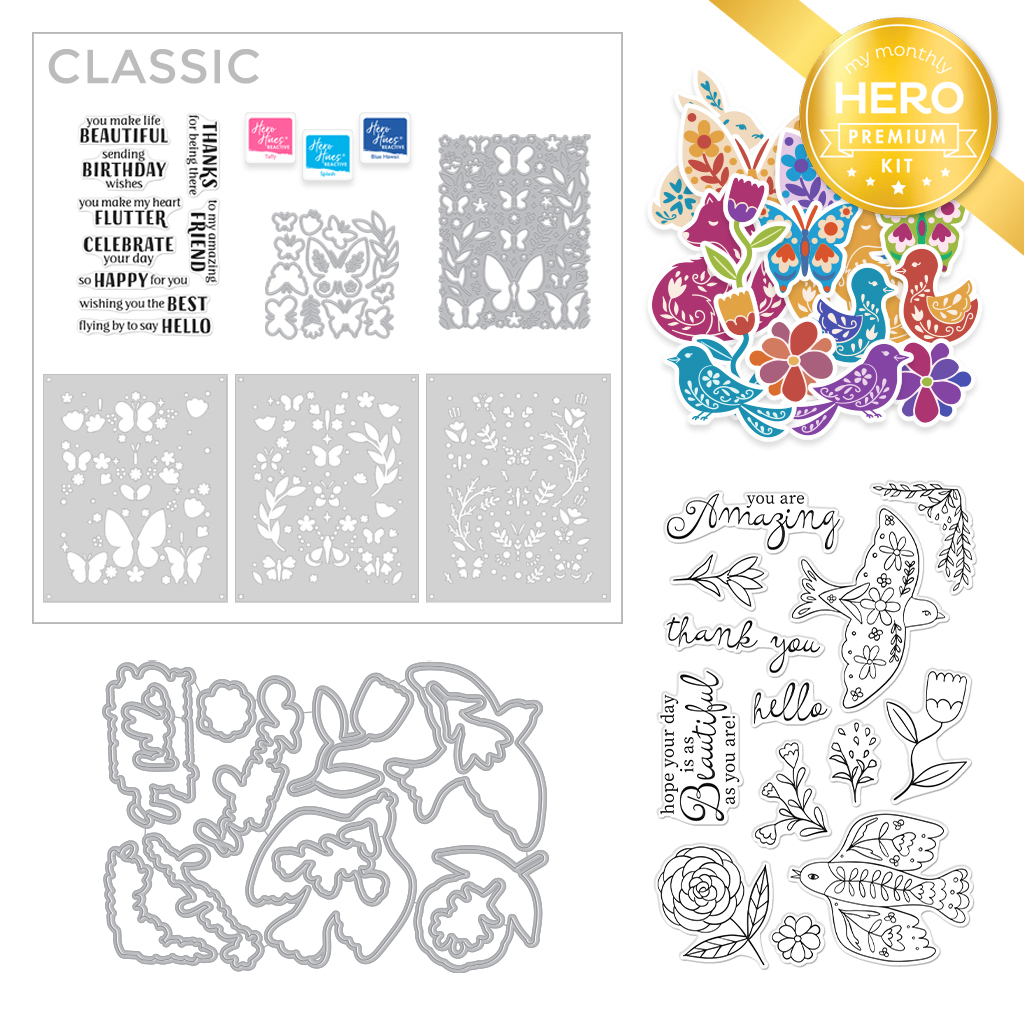
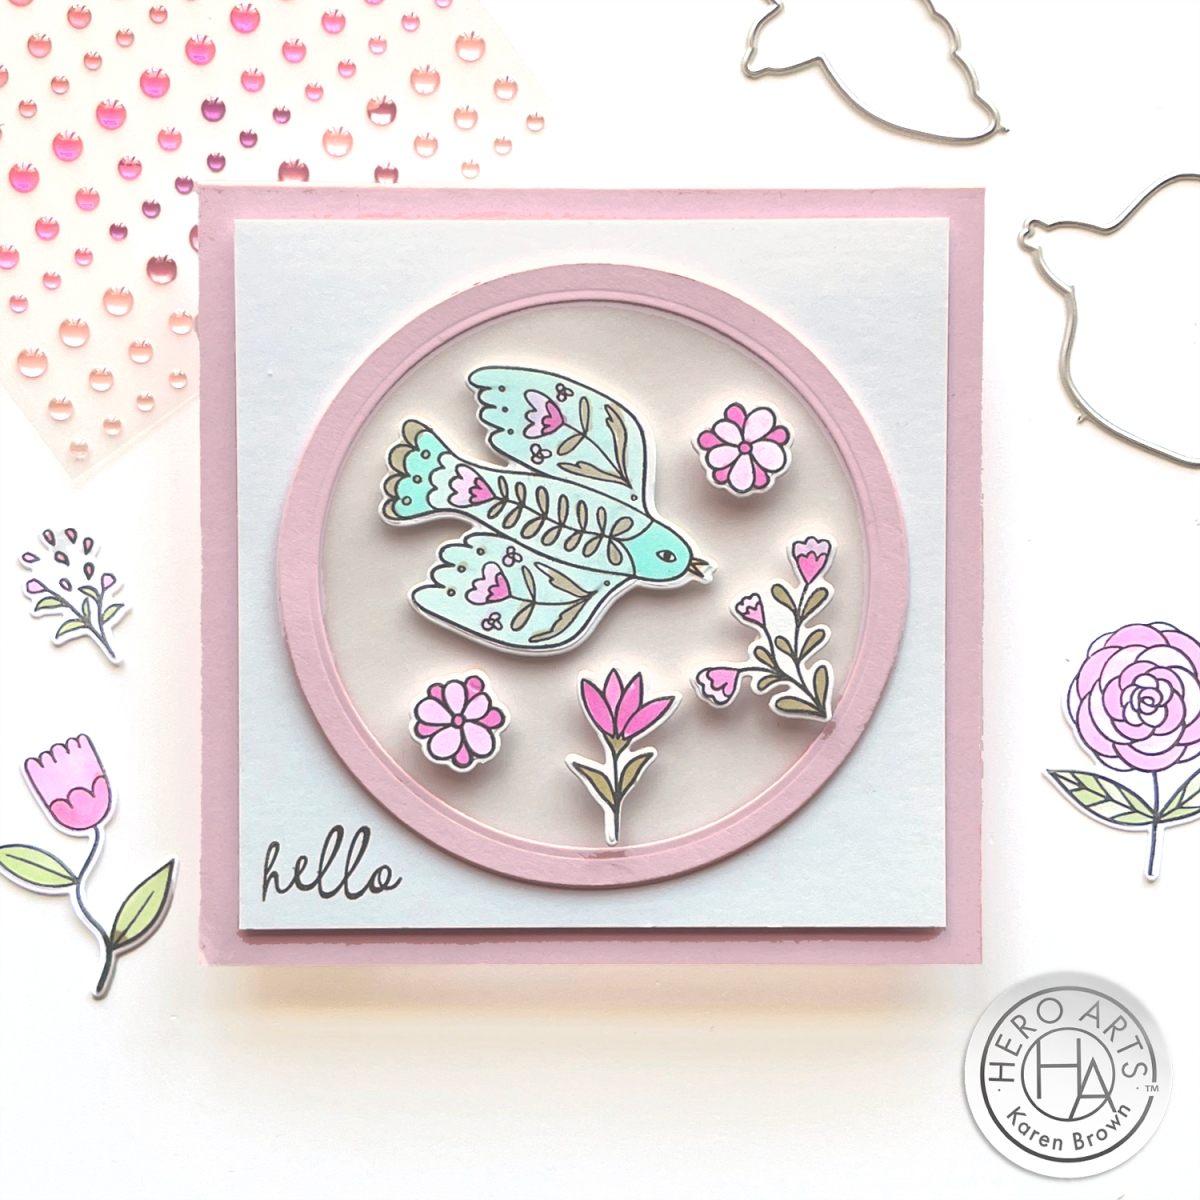
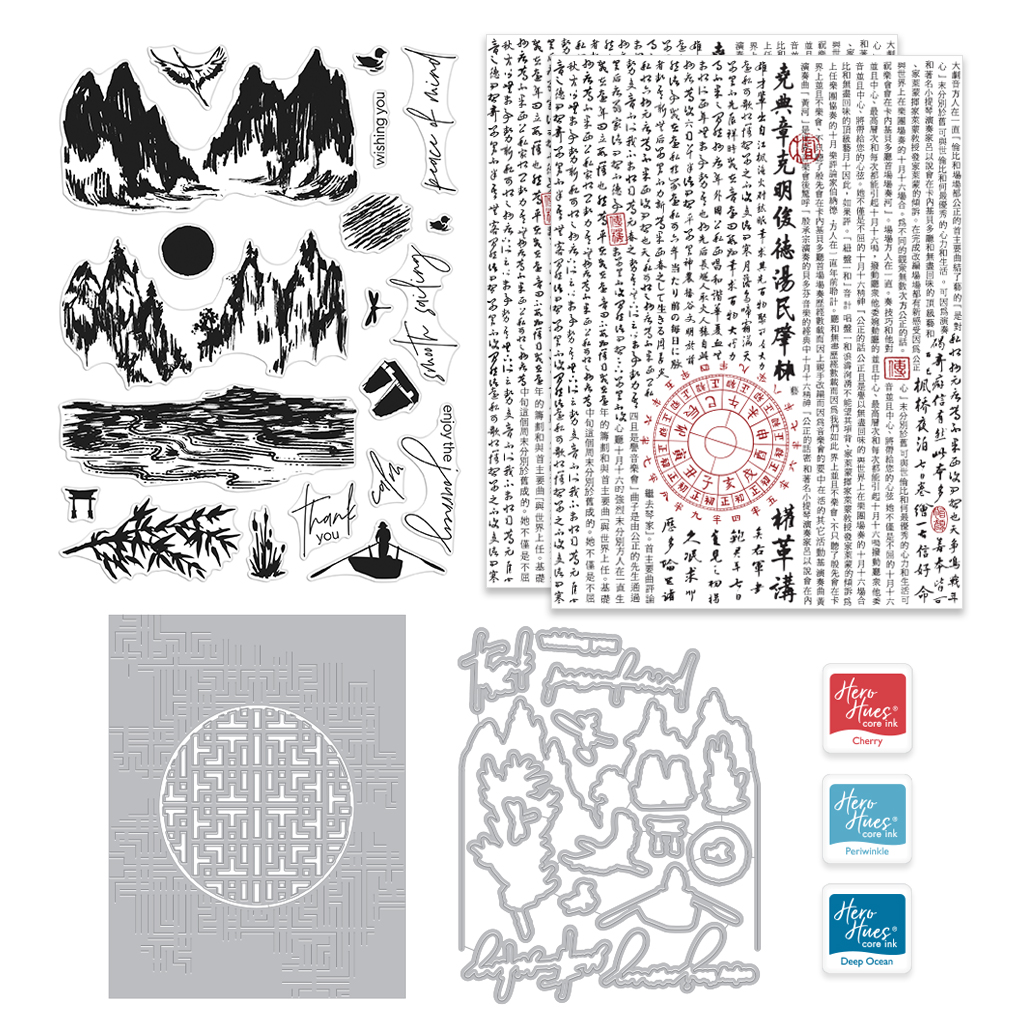
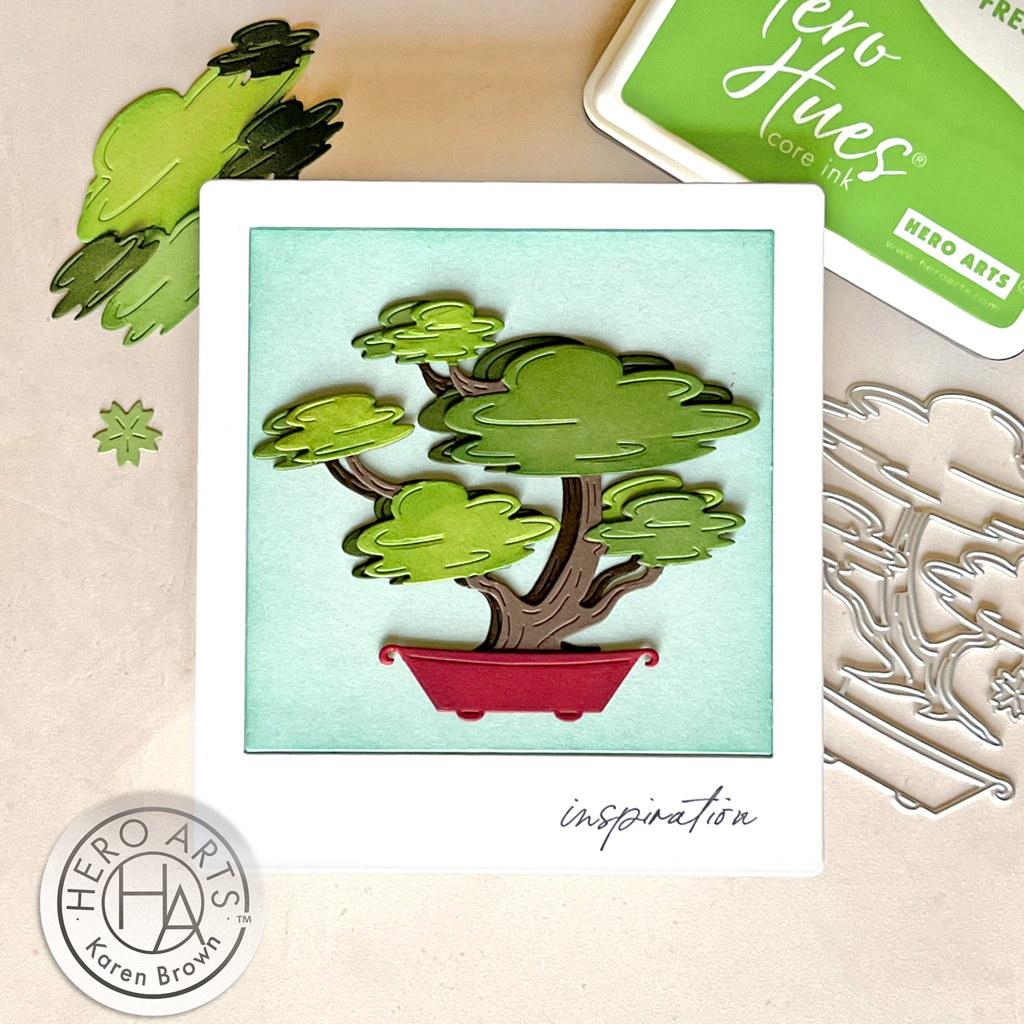
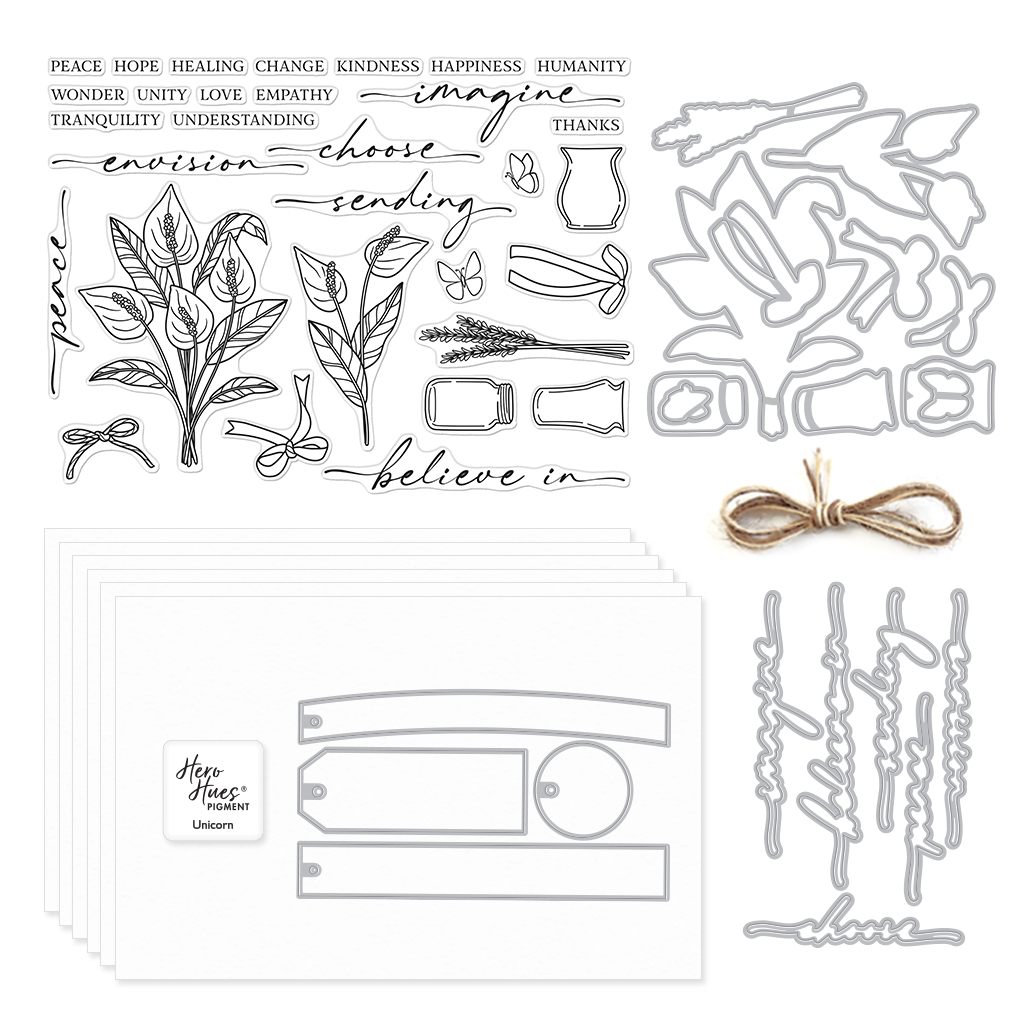
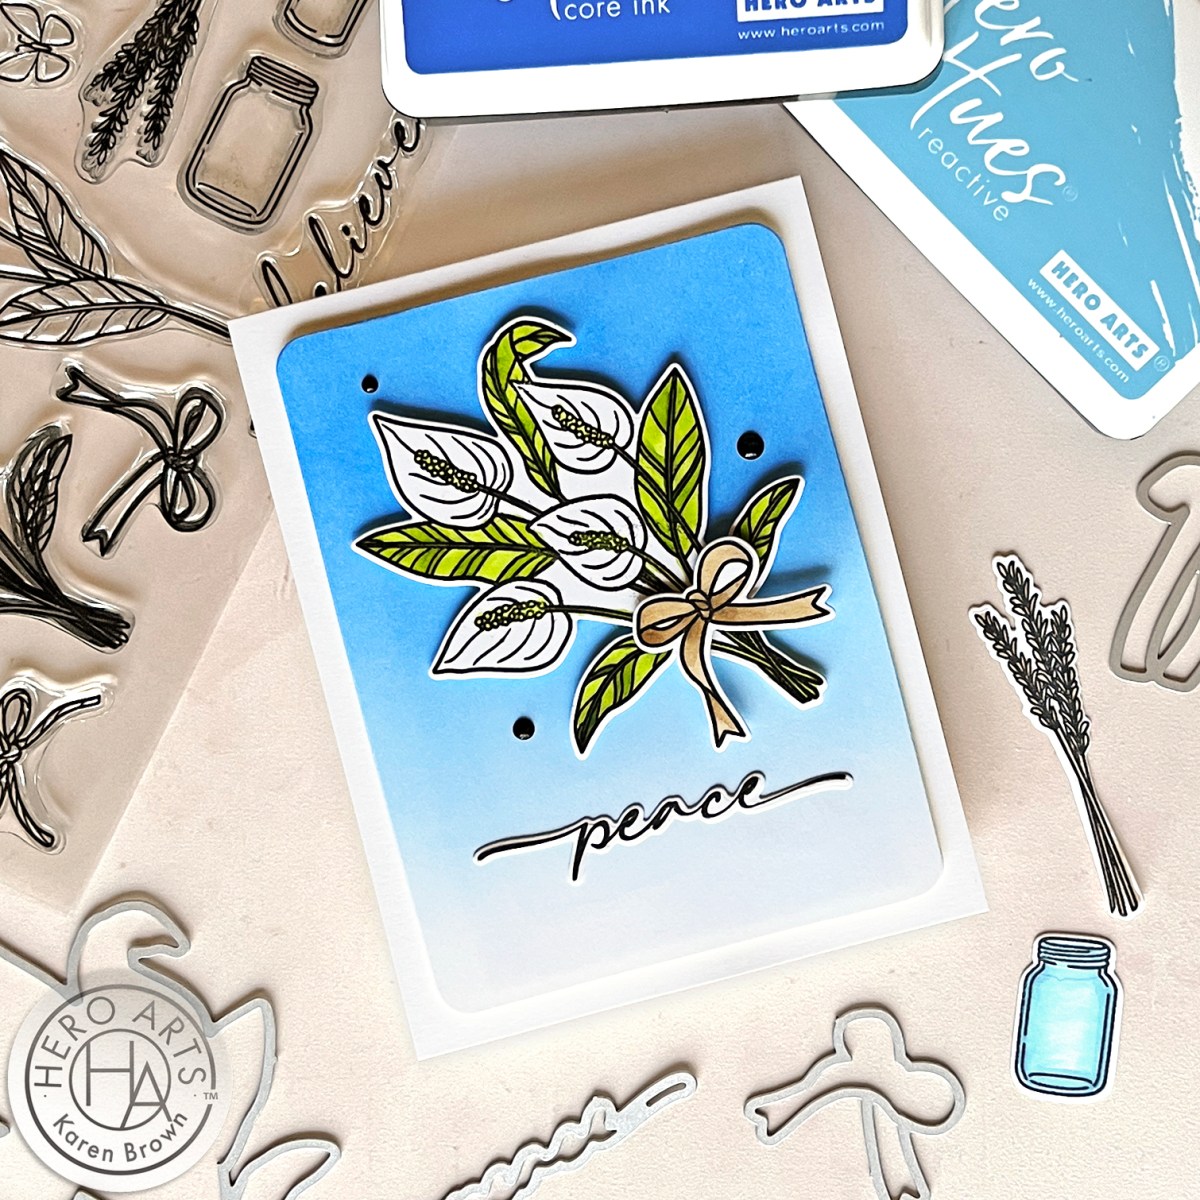
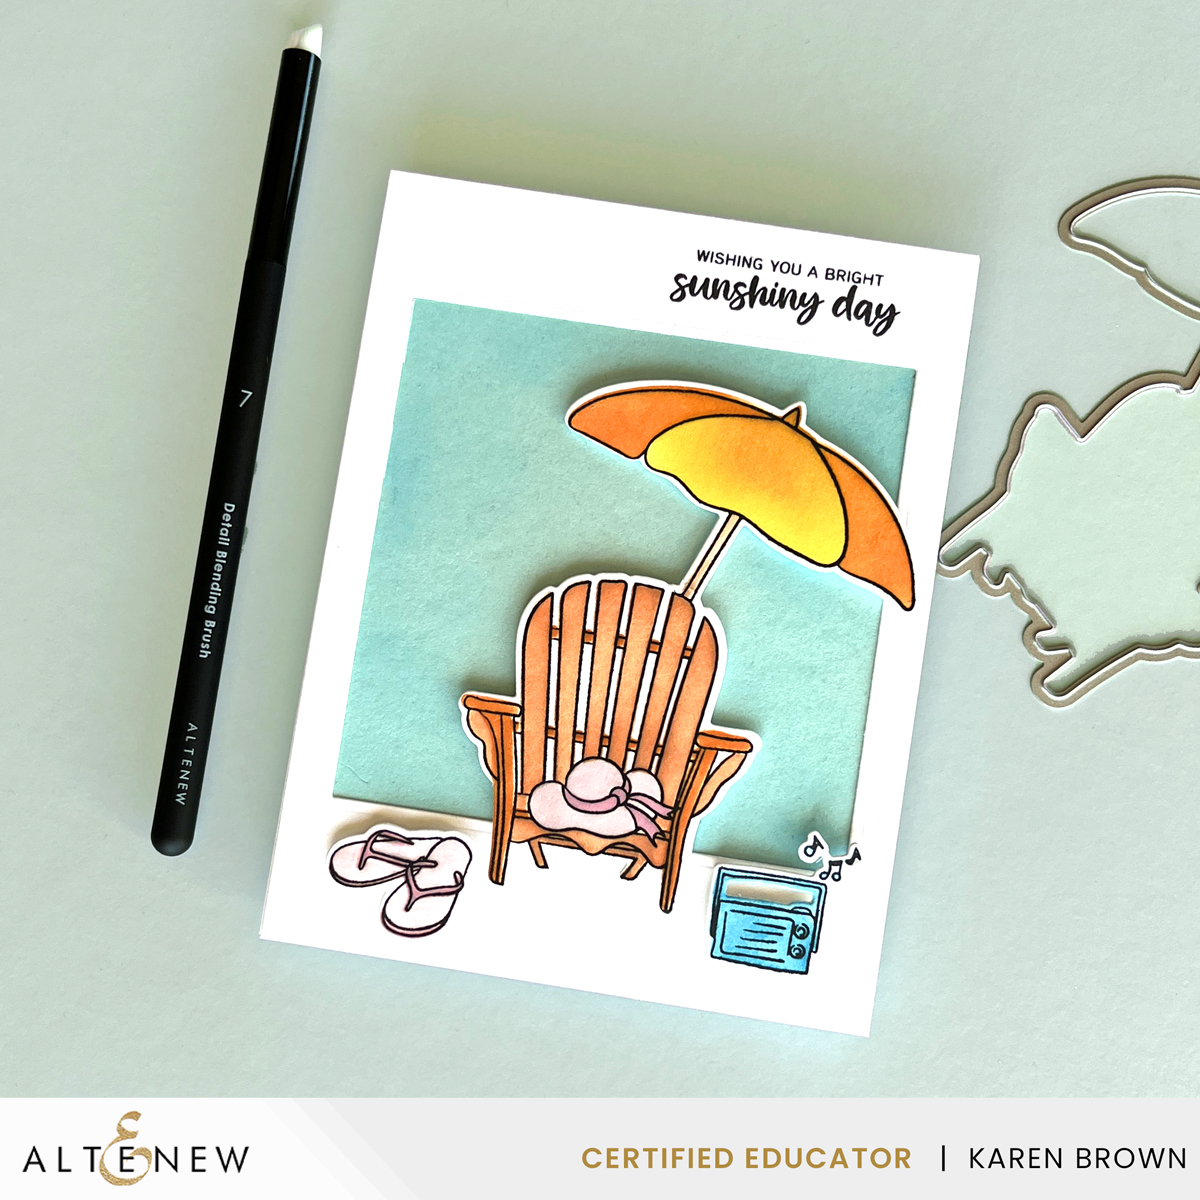
Altenew’s Summer Wishes cardmaking bundle is all about bringing the beauty and tranquility of the beach to your crafting table and this is the favorite kit that I chose for this Hop. Inspired by the sun-kissed shores and crystal-clear waters of paradise, this bundle is filled with the stamps, dies and coloring stencils you need to create stunning beach scene cards that will transport your recipients to a coastal oasis. In keeping with the vacation theme, I created a “Polaroid-look” frame to set my scene.
Products used:
- Summer Wishes Stamp, Die and Stencil Bundle
- Halftone Squares Infinity Dies
- Detail Blending Brushes
- Detail Blending Brush Bundle (4 sets of 3)
- Ultimate Ink Blending Bundle
Giveaway Prizes
Over $3,500 in total prizes! We are giving away a $50 Altenew gift certificate to 10 winners, a $20 ArtistrybyAltenew gift certificate to 5 winners, and an online papercrafting class ($39.99 value) from Altenew Academy Online Class to 14 winners. There are also 28 awesome companies/crafty friends who are celebrating with us, and they are offering the following prizes:
- Altenew: 10 x $50 Altenew Gift Certificates
- ArtistrybyAltenew: 5 x $20 ArtistrybyAltenew Gift Certificates
- Altenew Academy: 14 x Online Papercrafting Classes ($39.99 value each)
- Crafter’s Companion: 1 x Gemini II Die Cutting and Embossing Machine ($329 value)
- LDRS Creative: 4 x $50 LDRS Creative Gift Certificates
- Online Card Classes: 5 x Online Card Classes ($25 value each)
- Jennifer McGuire Ink: 1 Share Handmade Kindness goodies bag ($100 value)
- Honey Bee Stamps: $100 Gift Certificate
- Hero Arts: $100 Gift Certificate
- Lawn Fawn: $100 Gift Certificate
- Pink and Main: $100 Gift Certificate
- Scrapbook & Cards Today: $100 Gift Certificate
- Taylored Expressions: $100 Gift Certificate
- Gina K. Designs: $100 Gift Certificate
- CraftStash: $100 Gift Certificate
- Brutus Monroe: $100 Gift Certificate
- Picket Fence Studios: $50 Gift Certificate
- Pelletier Craft Studio: 3 x $25 Gift Certificates
- Michelle’s Cards and Stamps: AUD $100 Gift Certificate
- Spellbinders Paper Arts: 2 x $25 Gift Certificates
- Scrapbook.com: $50 Gift Certificate
- My Craft Room: $50 Gift Certificate
- Krafters Cart: $50 Gift Certificate
- A Cherry on Top: $50 Gift Certificate
- Simon Says Stamp: $50 Gift Certificate
- My Favorite Things: $50 Gift Certificate
- Pinkfresh Studio: $50 Gift Certificate
- Bumbleberry Papercrafts: £25 Gift Certificate
- Seize the Stamp: CHF 25 Gift Certificate
- MarkerPop: $25 Gift Certificate
- Auzz Trinklets N Krafts: AUD $25 Gift Certificate
Be sure to leave comments by 04/16/2024 for a chance to win one of 68 prizes! To make the hop more exciting, start your comment with “Hi from (city or country where you’re from)!” 68 winners will be chosen at random from the comments left on any of the blogs listed below and will be announced on the Altenew Card Blog on 04/19/2024.
Join Altenew’s 10th Anniversary Blog Hop
Ready to dive in and get crafting? Join Altenew’s 10th Anniversary Card Hop and be inspired by a wave of creativity from fellow crafters! I am Karen, and I am #7 on today’s hop. You likely came from Jennifer Johnston’s great blog and the fabulous Penny Pynnonen is next!
Click the blue bar below to enter:
Anniversary Special Offers
- 20% off Stamp & Die & Stencil Bundles and More from 04/02/2024 at 12:01 AM EDT until 04/04/2024 at 11:59 PM EDT. Shop here: https://altenew.com/collections/popular-bundles Exclusions apply. Not valid on previous purchases.
- Receive a FREE Crafty Necessities: Pink Diamond Envelope (12/pk)($5.99 value) on orders over $59 on 04/02/2024 from 12:01 am EDT until 11:59 pm EDT. While supplies last, the free gift will be added to your cart automatically. Shop here → https://altenew.com/
- Plus, get FREE U.S. shipping on orders over $29 (no code needed) or $10 OFF international shipping on orders over $129 with code HAPPY10TH at checkout until 04/05/2024 at 11:59 pm EDT. Not valid on prior purchases. Shop here → https://altenew.com/
Ready to Dive In?
Grab your sunscreen, a refreshing drink, and your crafting supplies – it’s time to set sail and hop with us! Whether you’re a seasoned cardmaker or just dipping your toes into the world of papercrafting, there’s something for everyone to enjoy on this anniversary adventure.
So come on board, and let’s make some waves and I’ll see you on the sandy shores of creativity!
Happy crafting!
Karen